Bills, sales, and closures in Admin
Frissítve
The Storyous Admin is the central place for configuring the system in your business. Within the admin, you can add the products you sell, manage user access, use stock management, and gain an overview of your sales, bills, cash flows, cancellations, and discounts. Additionally, the admin offers various insights into sales, staff, products, product categories, and more. These reports can give you a deeper understanding of your business performance.
The admin is synchronised with the Storyous POS app on your device, and is designed to be used for setting up and monitoring your business, while the app is designed to be used for serving your customers.
We highly recommend using a laptop or desktop computer and the Google Chrome browser to make the most of the portal's functionality. |
Important – if you're getting started with Storyous, setting up your business in the admin is essential before you can begin to use the POS app on your device. |
Login to the Admin
1. To access the Storyous Admin visit admin.storyous.com.
2. Use your Teya ID credentials to log in.
Note: if you’d like to know more about Teya ID login or you forgot your login credentials, check this article. |
Note: you may also access and login to the Storyous Admin through our Storyous website. |
Bills overview
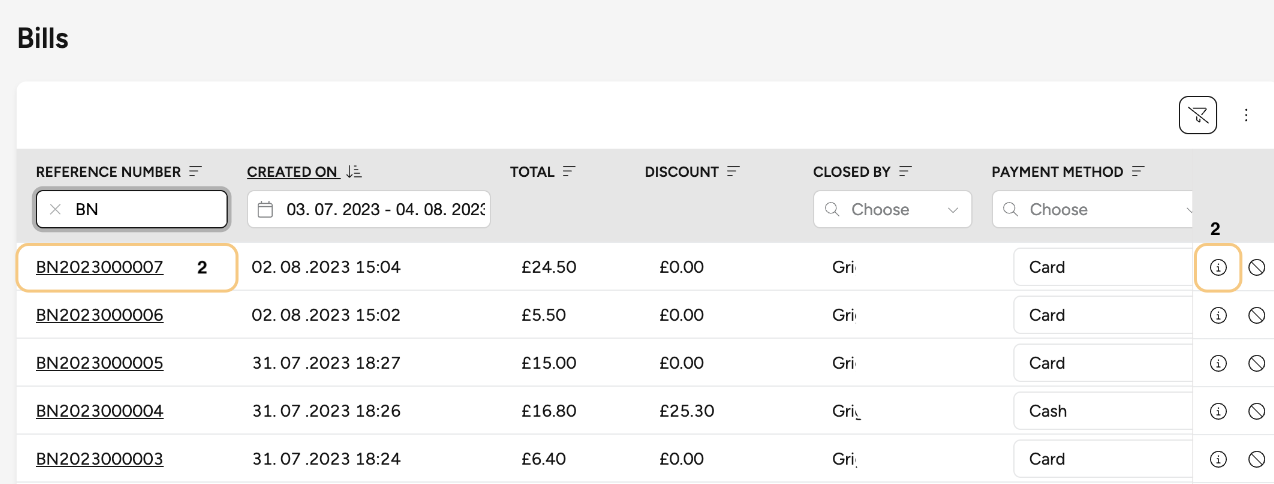
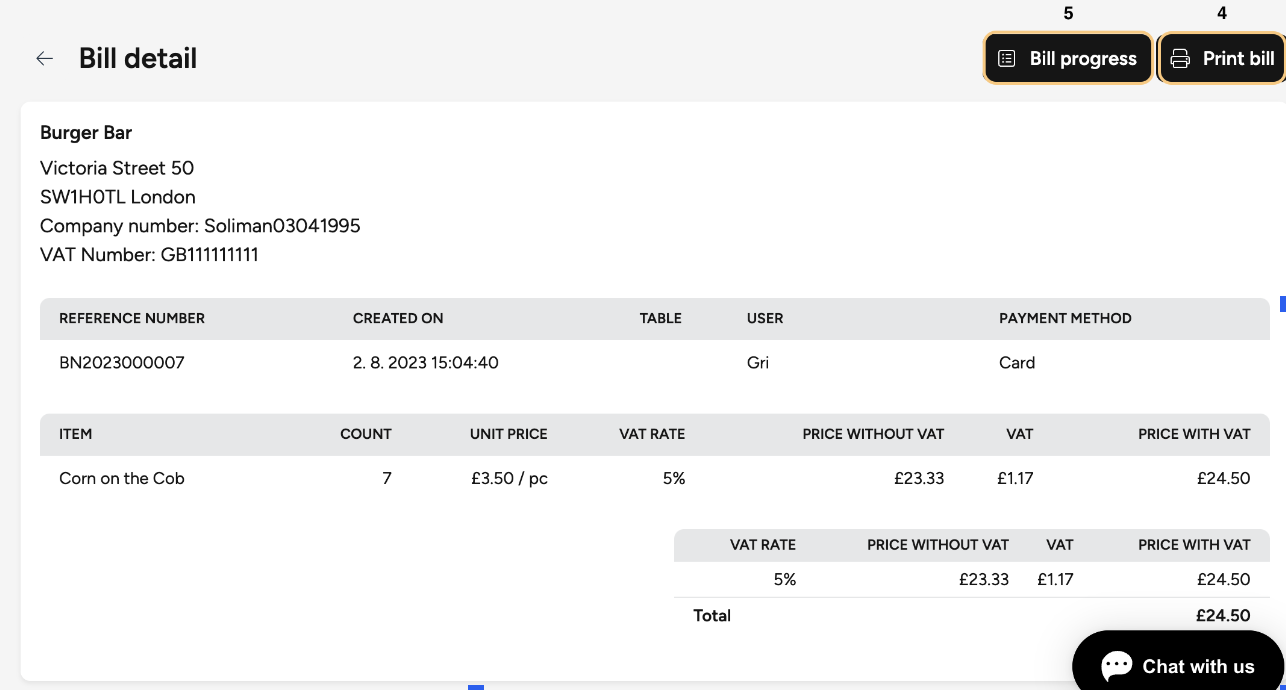
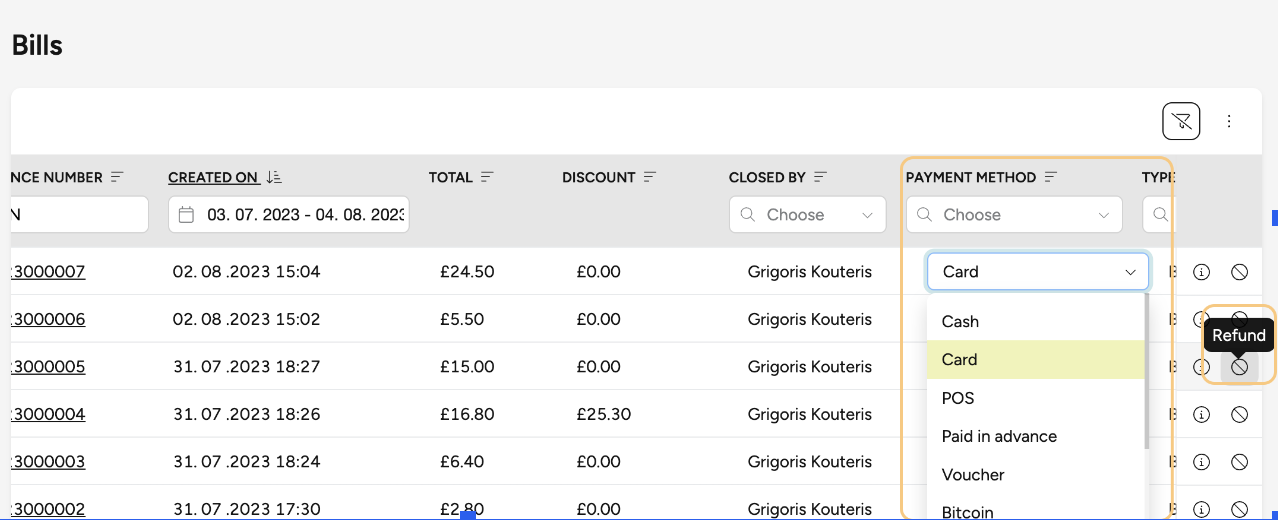
All sales made from the POS app on your devices are recorded in the Storyous Admin. The Bills overview offers visibility and control over all your sales and allows you to customise the overview columns, filter through all your bills, and easily search for a specific bill. You can also access detailed information about a specific bill, reprint it if needed, track its progress, and even manage refunds or change payment methods.
To access the Bills overview, choose the Bills section on the top bar of the page and then select the Bills subsection from the left-hand menu.
Note – if you manage multiple locations in the same company, you can view bills for all your locations or simply select a specific location from the list on the top left side. |

Income summary
The Income summary offers an overview of all your sales, categorised by day and month, along with details on the VAT rate and payment type. This report records data in 24-hour periods, providing you with a comprehensive view of your income. These summaries also serve as supporting documents for the accounting.
To access the Income summary, choose the Bills section on the top bar of the page and then select the Income summary subsection from the left-hand menu.
Note – if you manage multiple locations in the same company, you can view income summaries for all your locations or simply select a specific location from the list on the top left side. |

Cash flow and closure
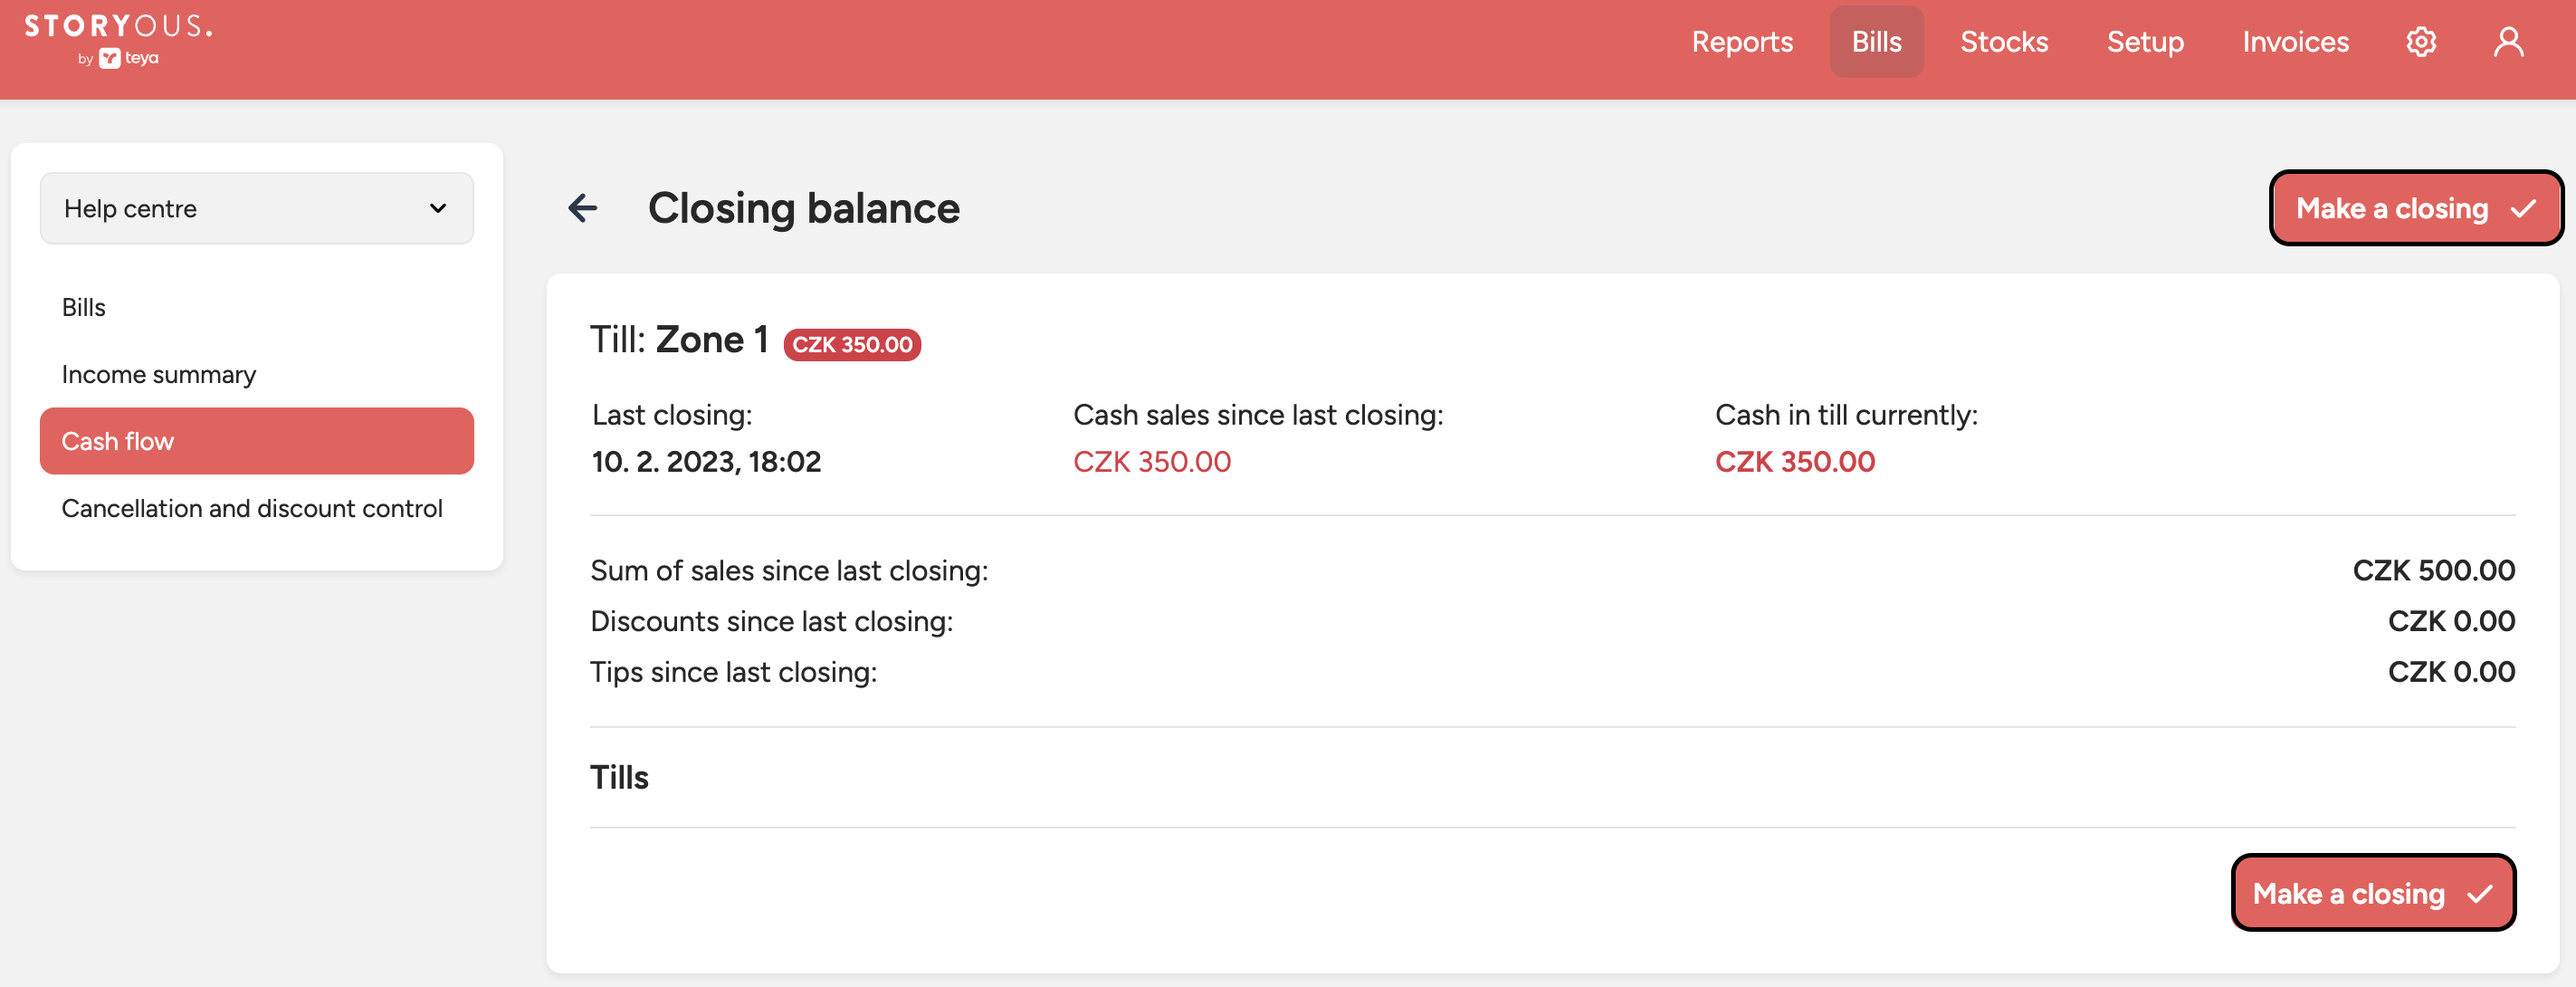
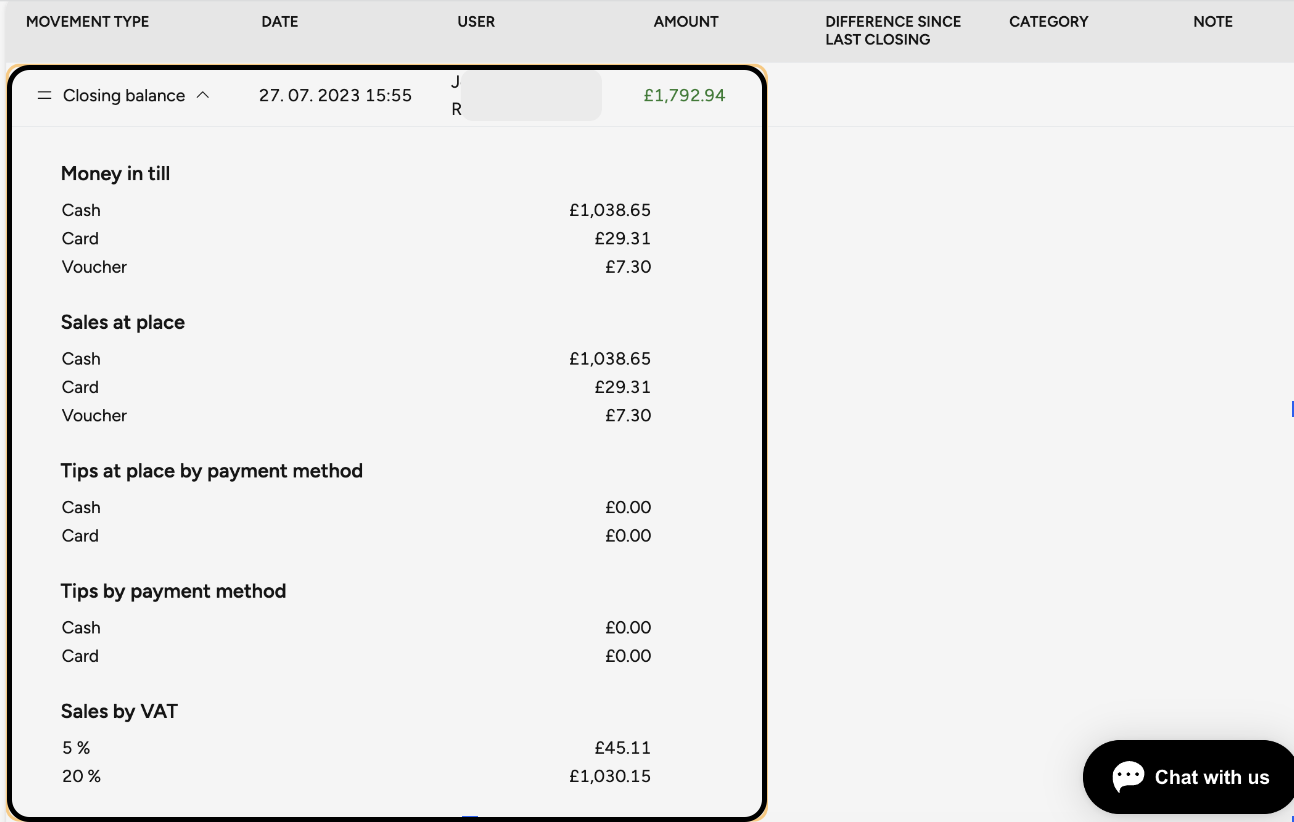
In the Cash flow option within the admin, you can access the complete history of your closings. It provides you with an overview of the date, the total amount of each closing, and who performed the closing. Each closing also includes detailed information about your money in the till, sales, and tips.
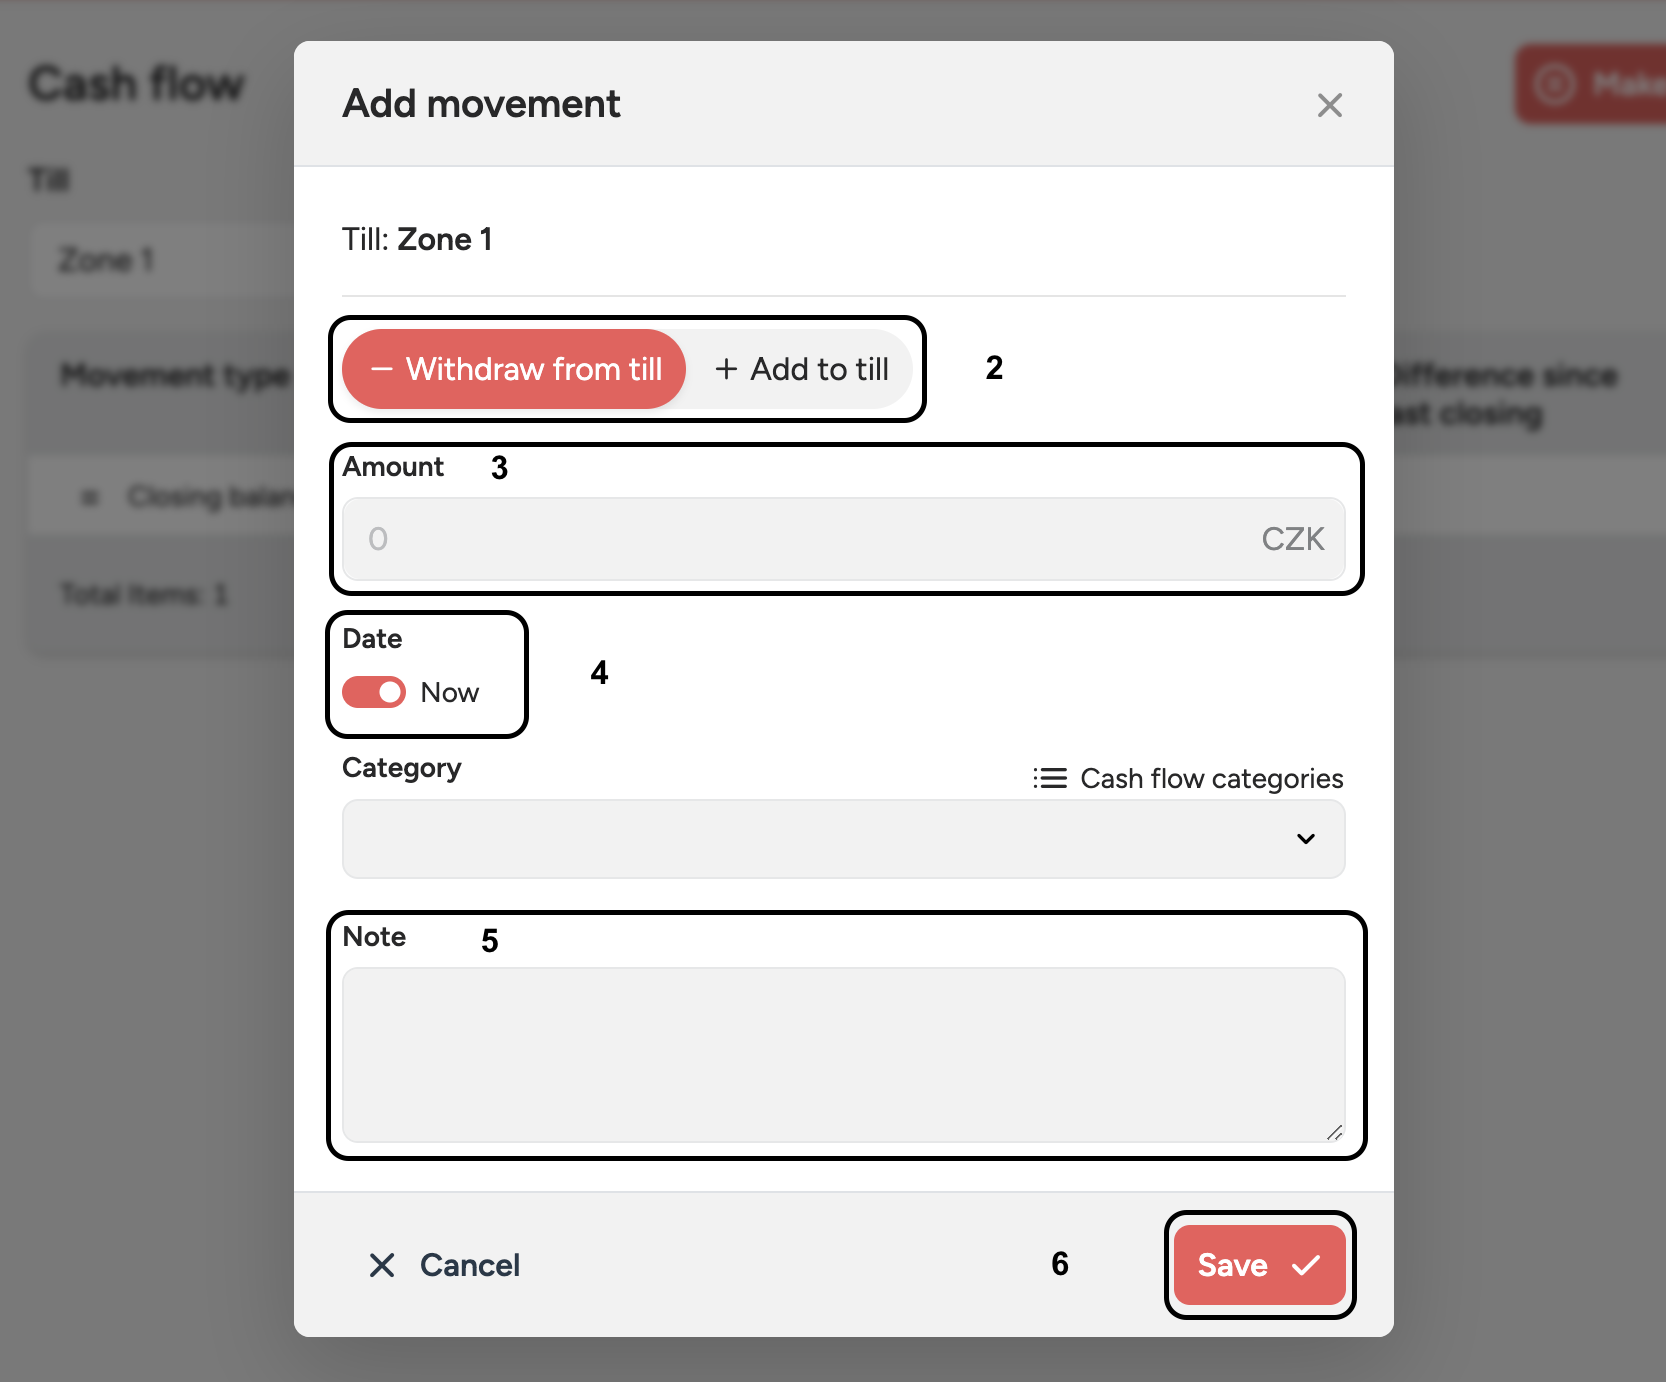
You also have the possibility of making your closings and adding cash flow movements.
To access the cash flow choose the Bills (1) section on the top bar of the page and then select the Cash flow (3) subsection from the left-hand menu.

Cancellation and discount control
The Cancellation and discount control is used to track receipts that have either been canceled, reprinted, closed with the status Issued - not paid, or have had a discount applied to them. It will also show receipts from which individual items were deleted before payment.
To access Cancellations and discounts, go to Bills in the top navigation bar, then select Cancellations and discounts from the menu on the left side.
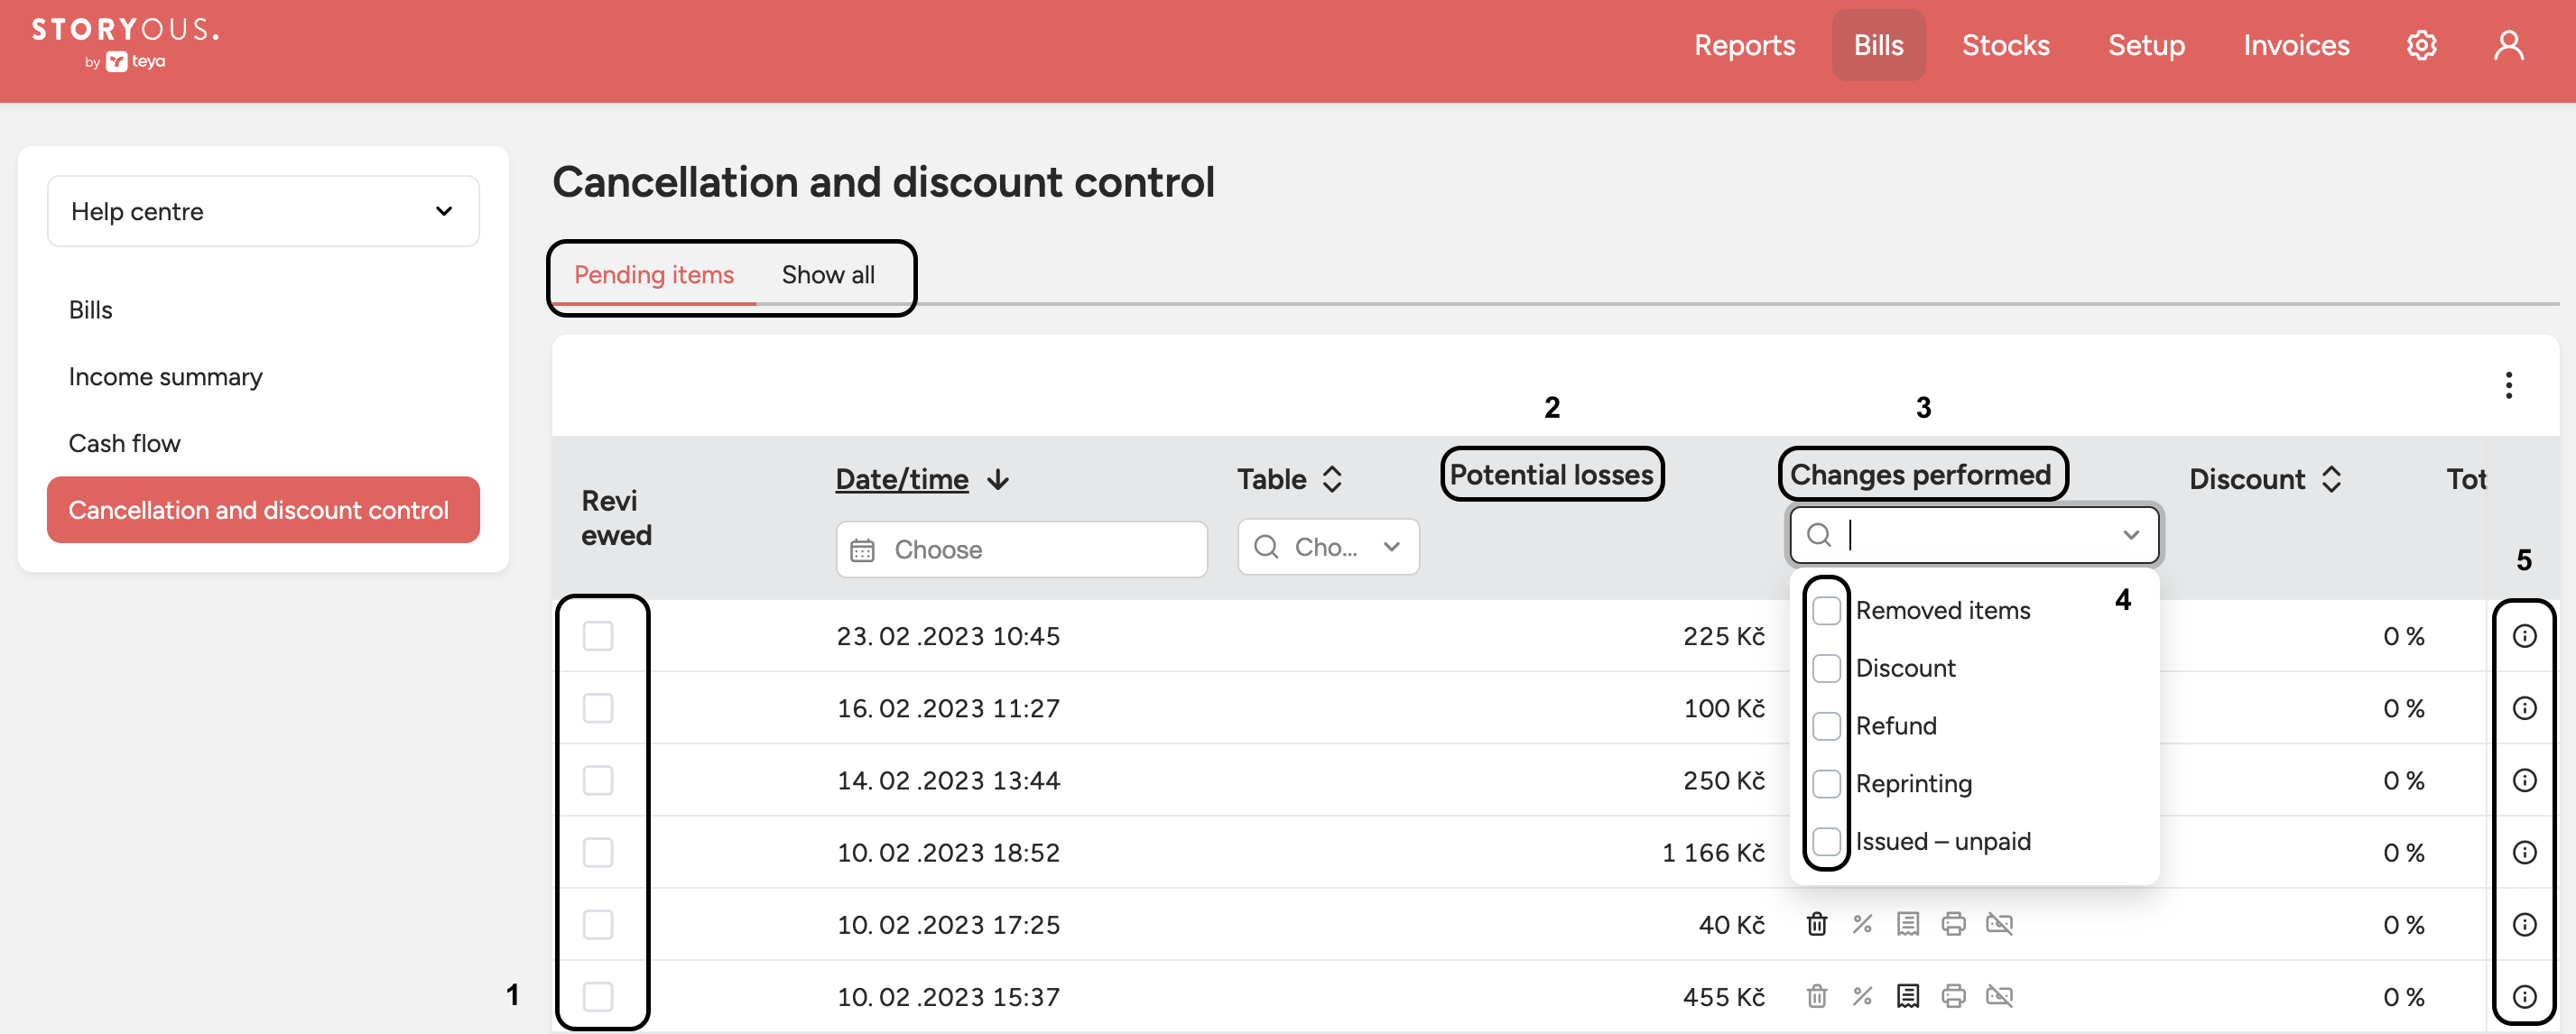
This section enables you to have a complete overview of the receipts mentioned above. Among other things, you can:
Choose to view only pending items, or show all.
Confirm the receipts that are approved by ticking the box (1) in the column on the left.
Assess potential losses (2) - the total value by which the bill was descreased due to the change that took place.
Have overview of the type of change applied (3).
Filter only the actions you'd like to inspect by using the dropdown menu and ticking the boxes (4).
See the timeline of the account from its creation to its closure by clicking on the information icon and viewing details (5).
Negative transactions always highighted in red.
Note: the list will also display the exact date of the change and the table where the bill was located. In the case of a quick order, the table will be shown as empty in the Table column. |

