Printer's specifications and set-up
Uppfært
Change the IP address of your LAN printer
Access the cash register app on your device to easily change the IP address of your printer. Read on for more information and how to check and test that the LAN printer is already connected.
Reasons why the IP address of your LAN printer could change:
Internet outage.
LAN cable becomes disconnected from the printer or router.
The internet router or LAN cable is changed.
If any of these occur, the printer won’t print and you’ll need to check and change the IP address that is connected to and communicates with the cash register system.
Important: you can only change an IP address for the LAN printer in the cash register app if your user role is merchant or place manager. |
WE HIGHLY RECOMMEND fixing the device's IP addresses inside your router for all your cash register devices, especially for the LAN printer. This will avoid further issues with printing. |
Step 1: self-test printing
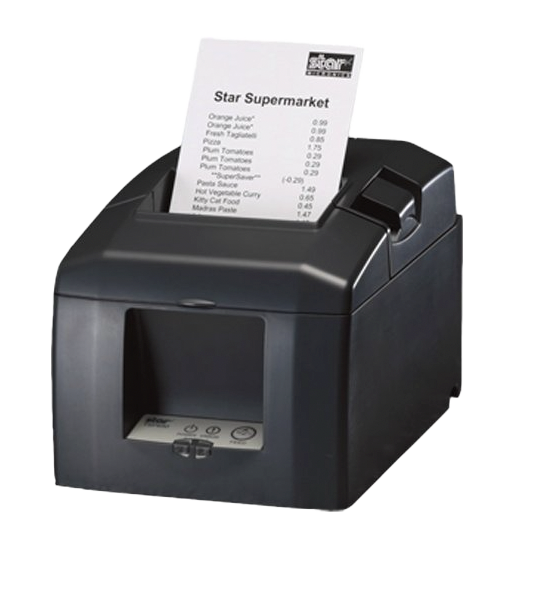
Before changing the IP address in the cash register app itself, you need to print a self-test on the faulty printer. The steps you follow depend on the type of printer.

Step 2: LAN Printer IP address change
7. On the home screen of your main cash register/tablet, you'll find the cash register app.
8. Open the cash register app.![]()
9. Input your login details.
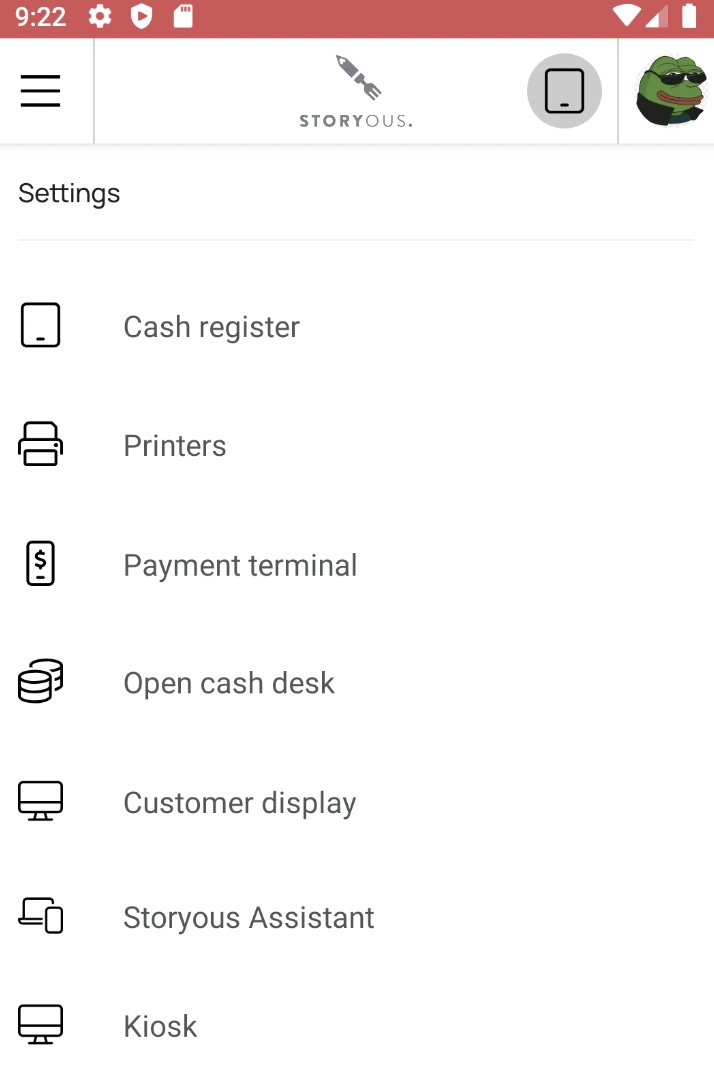
10. Click the Menu button in the upper left corner of the app.
11. Open Settings.
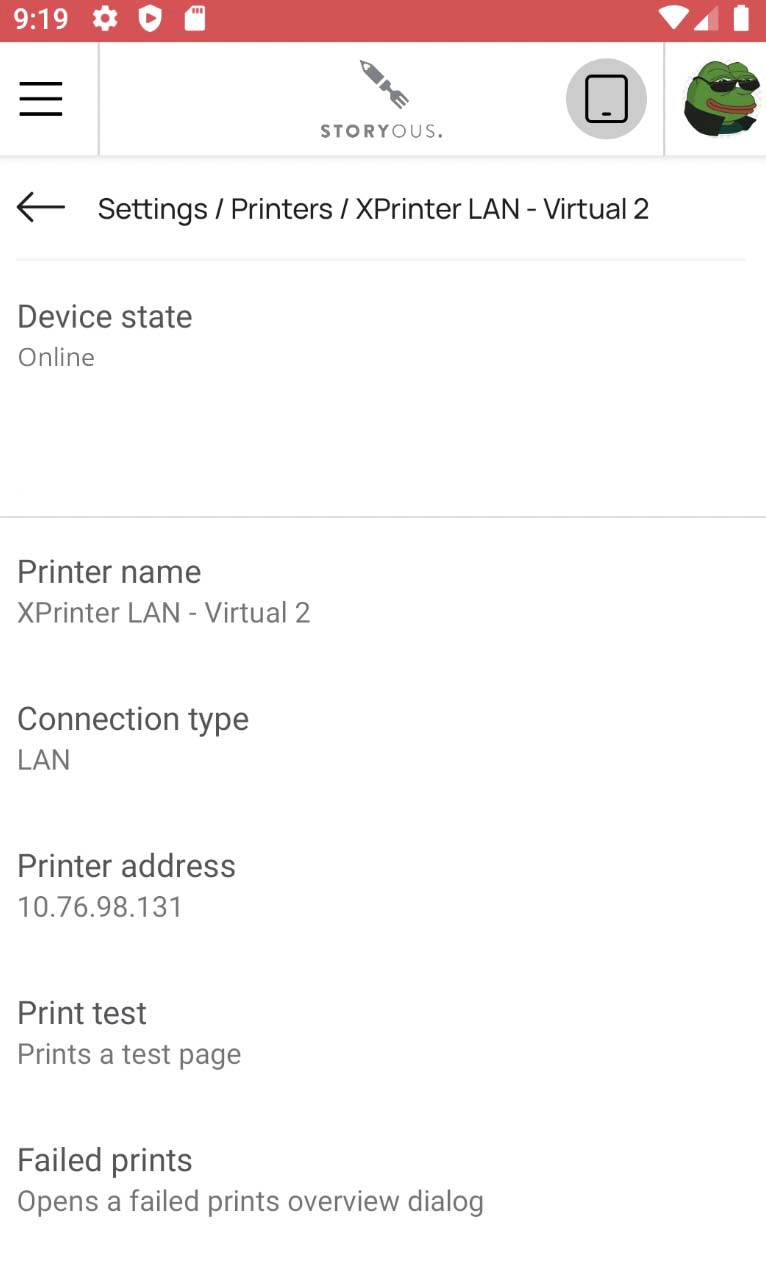
12. Click the Printers option.
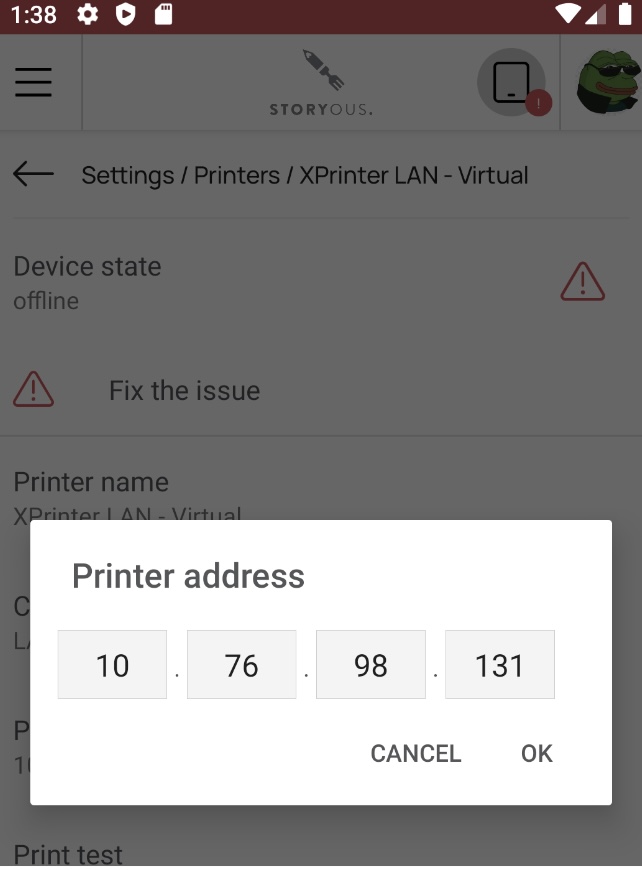
13. Select the LAN printer you performed the self-test on. It should be offline.
14. Select the Printer address option. This will open a new window.
15. Enter the IP address that was printed on the self-test.
16. Click OK.
17. Close the app, log back in, and the printer should be online and working.

Step 3: checking the printer connection status
If the printer is connected and turned on, Device status should be online. Easily check this status with the Stability check option in the cash register app.
Step 4: the test print
18. Click the Menu button in the upper left corner of the cash register app.
19. Open Settings from the menu.
20. Click on the Printers option.
21. Select the LAN Xprinter that you're connecting.
22. Device status should be Online.
23. Click the Print test option.
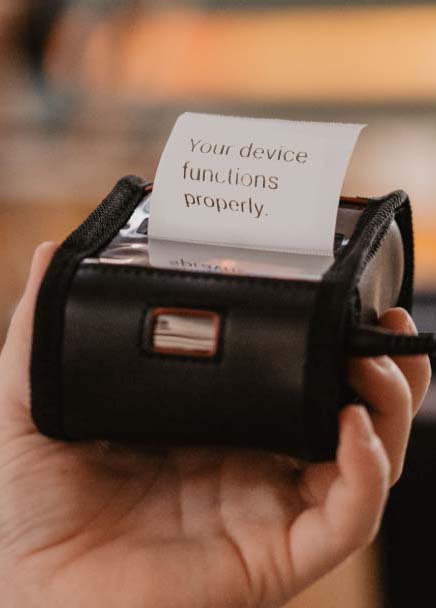
24. The connected printer should print the message "your device functions properly."