Getting started with Sunmi P2 Pro
Updated
Welcome to Teya!
Your card machine arrives in a Teya box, with a protection bag, and is fully charged. You just need to follow the guided setup, and your terminal will be ready for transactions.
In the welcome box, you will find:
Card machine Sunmi P2 Pro
USB Type-C cable
USB adaptor
Spare paper roll
Short user guide with basic instructions
Stickers
Switching on the card machine
Press the power button located on the left side of the terminal and hold it for a few seconds to turn it on or off;
Once the card machine is on, swipe up to unlock the screen.
Activating the card machine
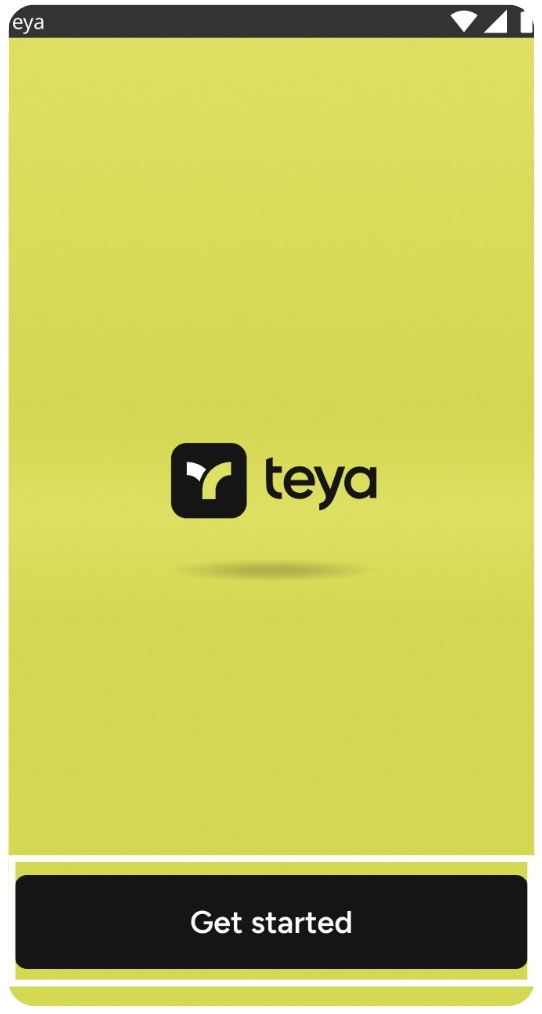
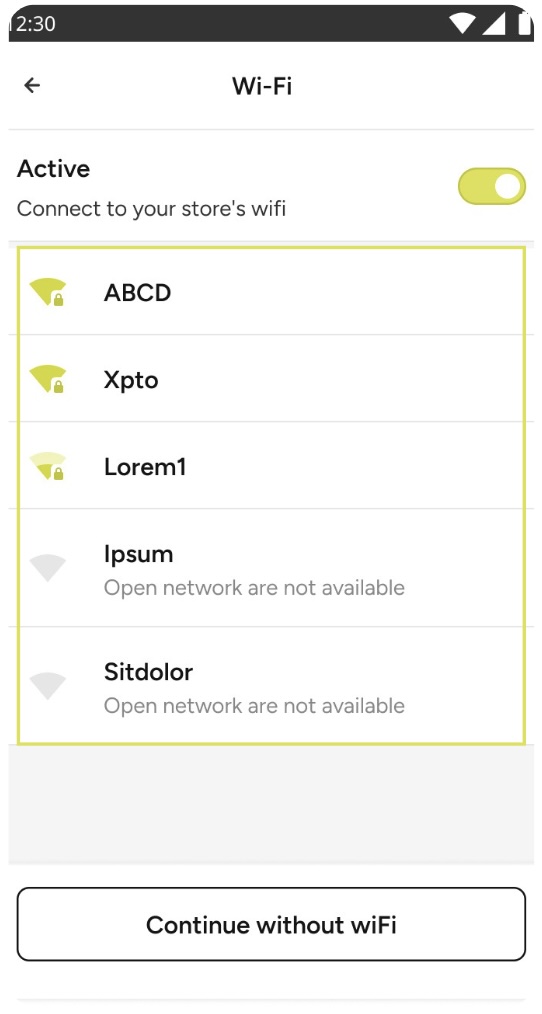
Step 1: To activate your card machine, press Get Started. |
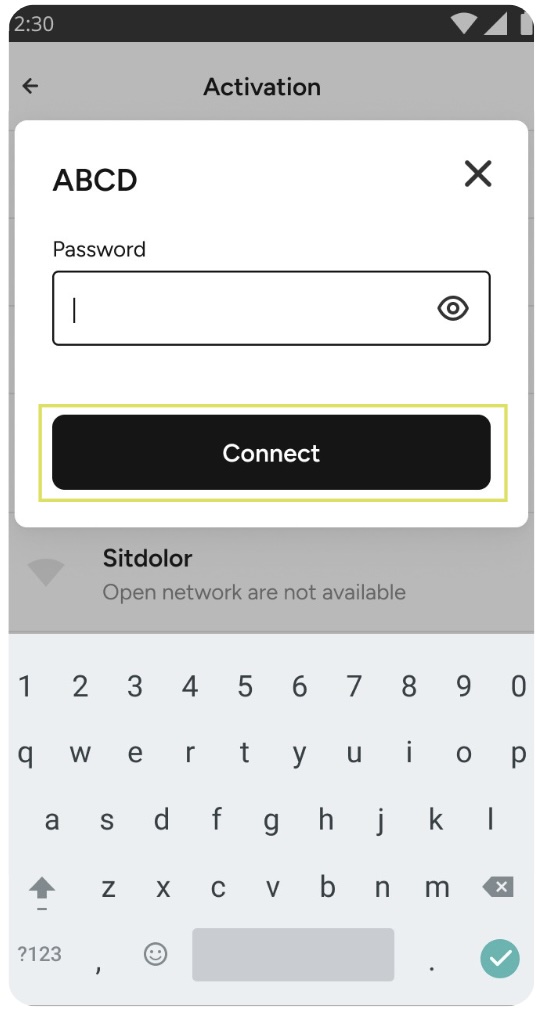
Step 5: Enter the Wi-Fi network password and click Connect. |
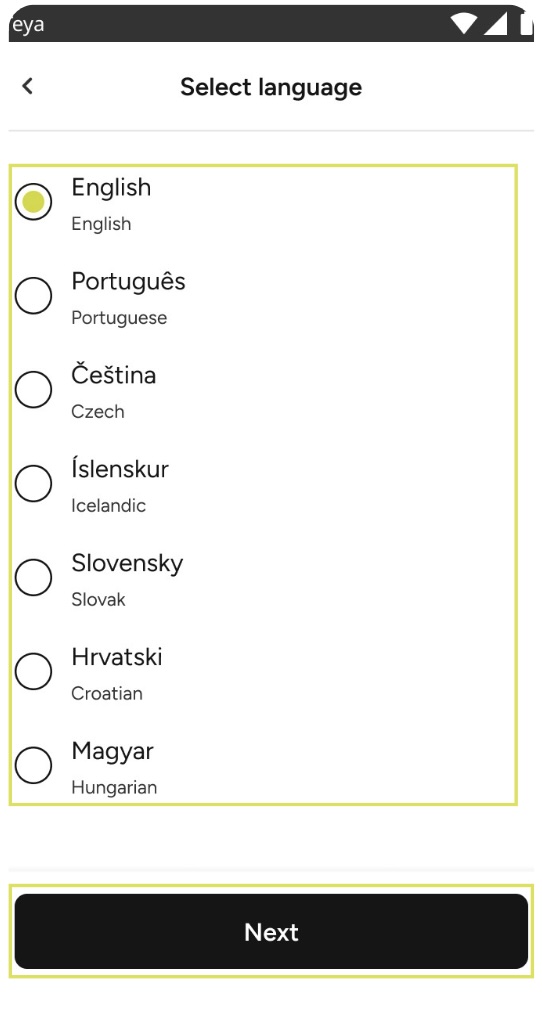
Step 2: Select your preferred language and click Next. |
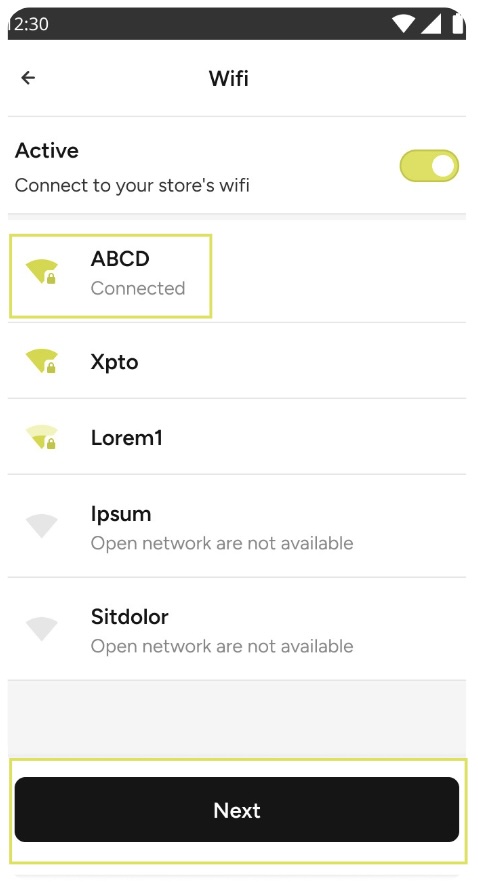
Step 6: If the connection is successful, you will see a Connected below the Wi-Fi name, please press Next to continue. If the connection fails, try again with a different network. |
Step 4: Choose the Wi-Fi network your card terminal should be connected to and click on it. |
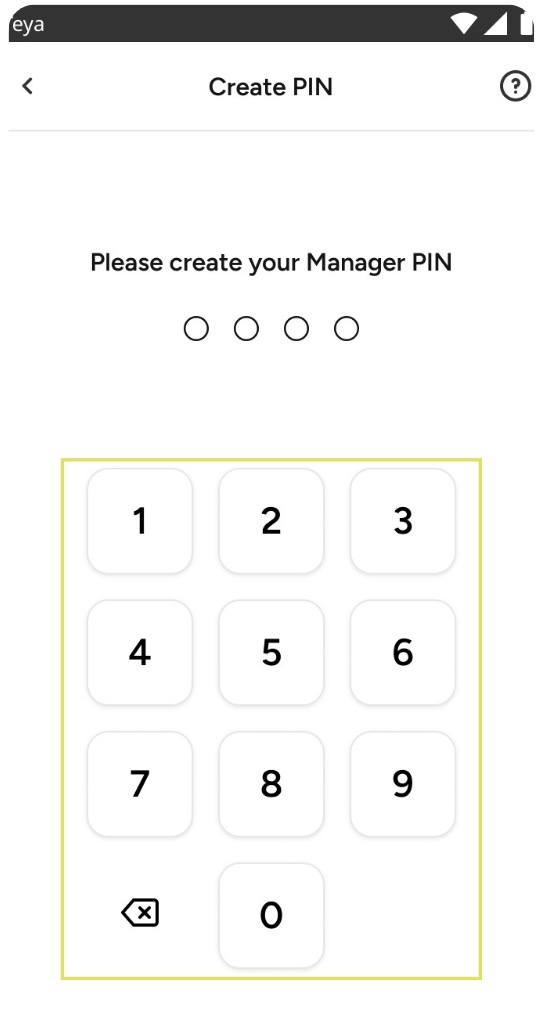
Step 8: Create a 4-digit Manager PIN. |
Congratulations, your card machine is now activated!
Setting up quick features
Now that your card machine is activated, choose which settings you want to enable/disable on your device:
Your card machine is now set up and ready to take transactions!
Accepting Payments
After finishing your card machine setup, you will land on your device’s main menu. Here, you can accept payments, use the calculator functionality, access the main menu, and read relevant updates.
To proceed with your first payment, simply type the amount to be charged or use the calculator to set the amount and ask your customer to use one of the following payment methods:
Contactless Cards: Tap the physical or mobile card at the top of the device;
Chip Cards: Insert the card on the right side of the terminal;
Magnetic Stripe Cards: Slide the card from left to right at the top of the terminal.
For more information on accepting payments, explore this article.
Charging your card machine and checking the battery status
To charge your device, please plug the USB-C charger cable directly into the terminal on the left side and connect it to the power socket.
To check the battery status, look at the upper right corner of the screen. If the battery indicator is red, charge it before using the terminal.
Note: We always recommend having at least 15% of the battery remaining the correct functioning of the device. |
Explore more resources to help your business thrive

