
Creating product categories and products in the Cash Register Admin
Updated
It’s important to set your business up in the Cash Register Admin before you start working with your cash register/tablet and app. The Admin is where you can manage your business. Read on for how to create your first product category and products.
WE HIGHLY RECOMMEND using a laptop or desktop computer and Google Chrome to make the best use of the Admin’s functionality. |
Product category creation
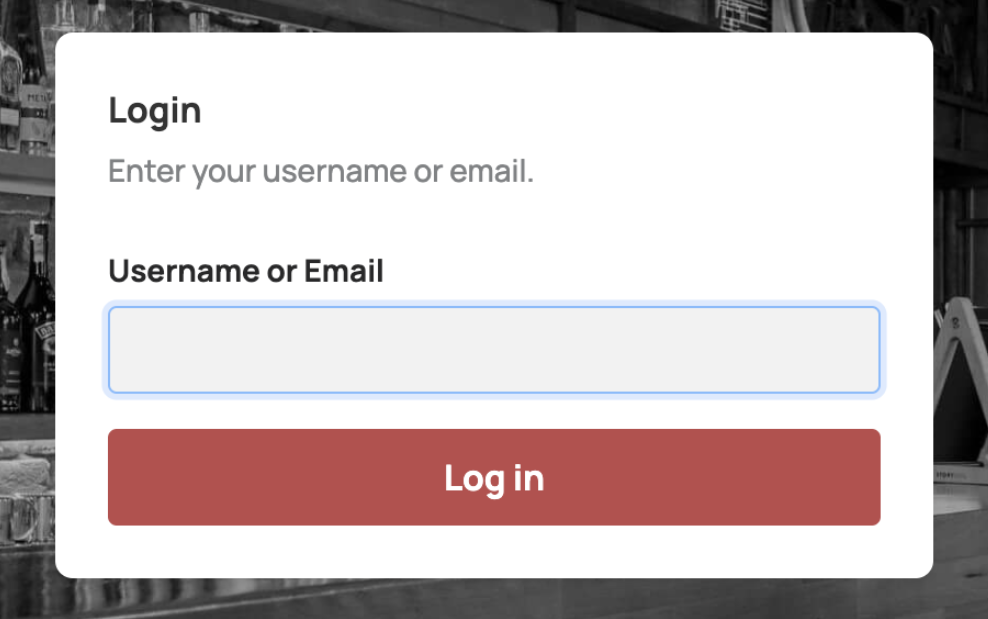
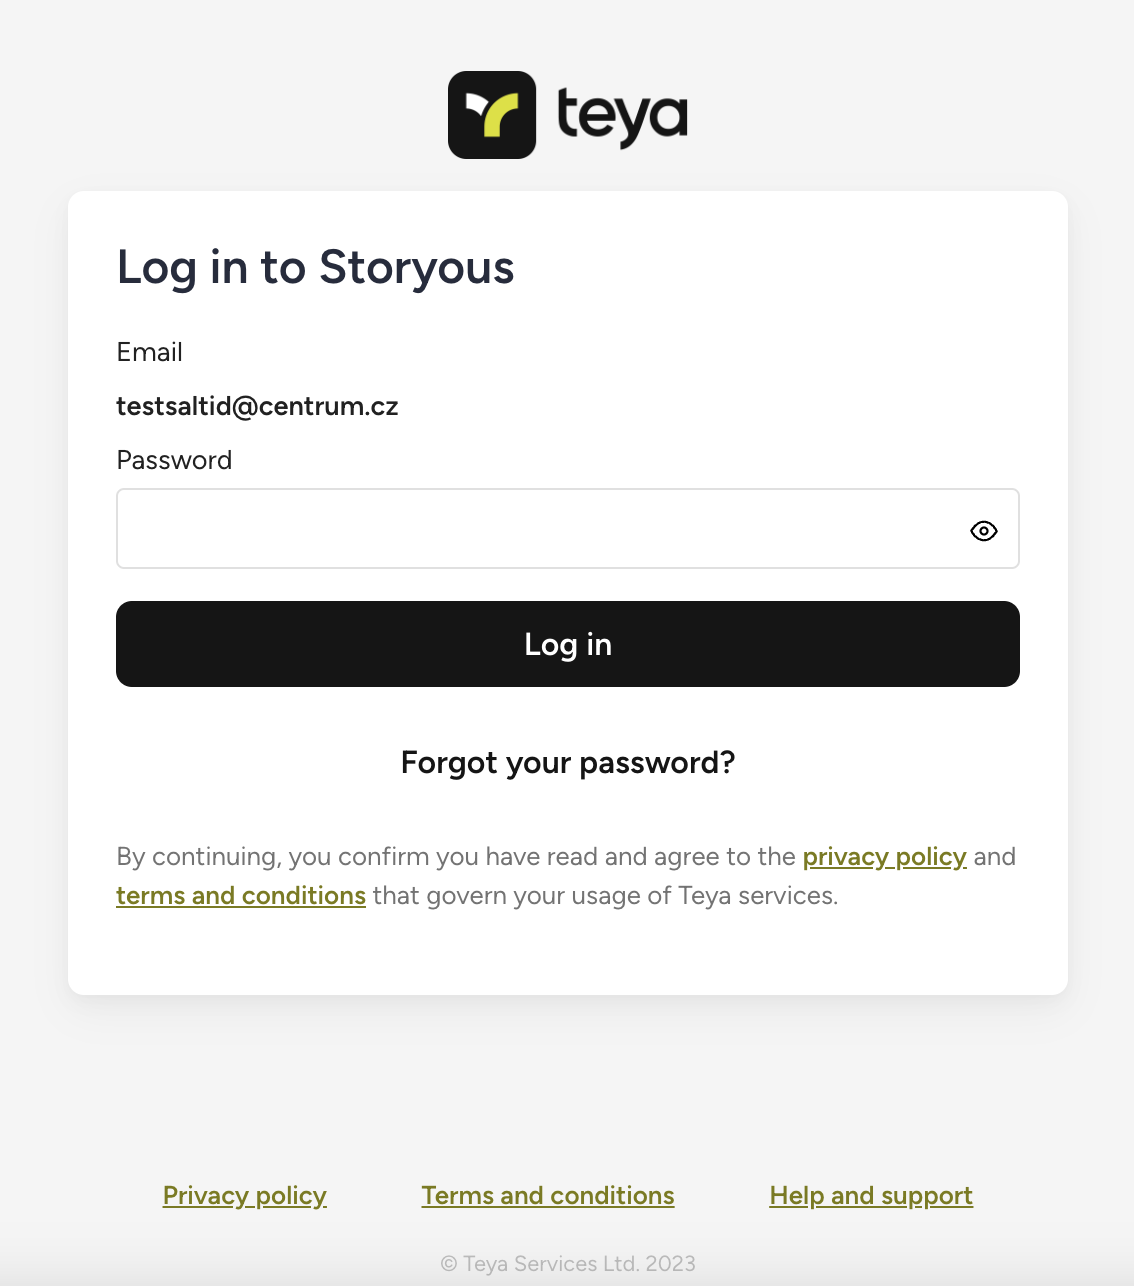
1. Log in to the Cash Rgister Admin with your login details.
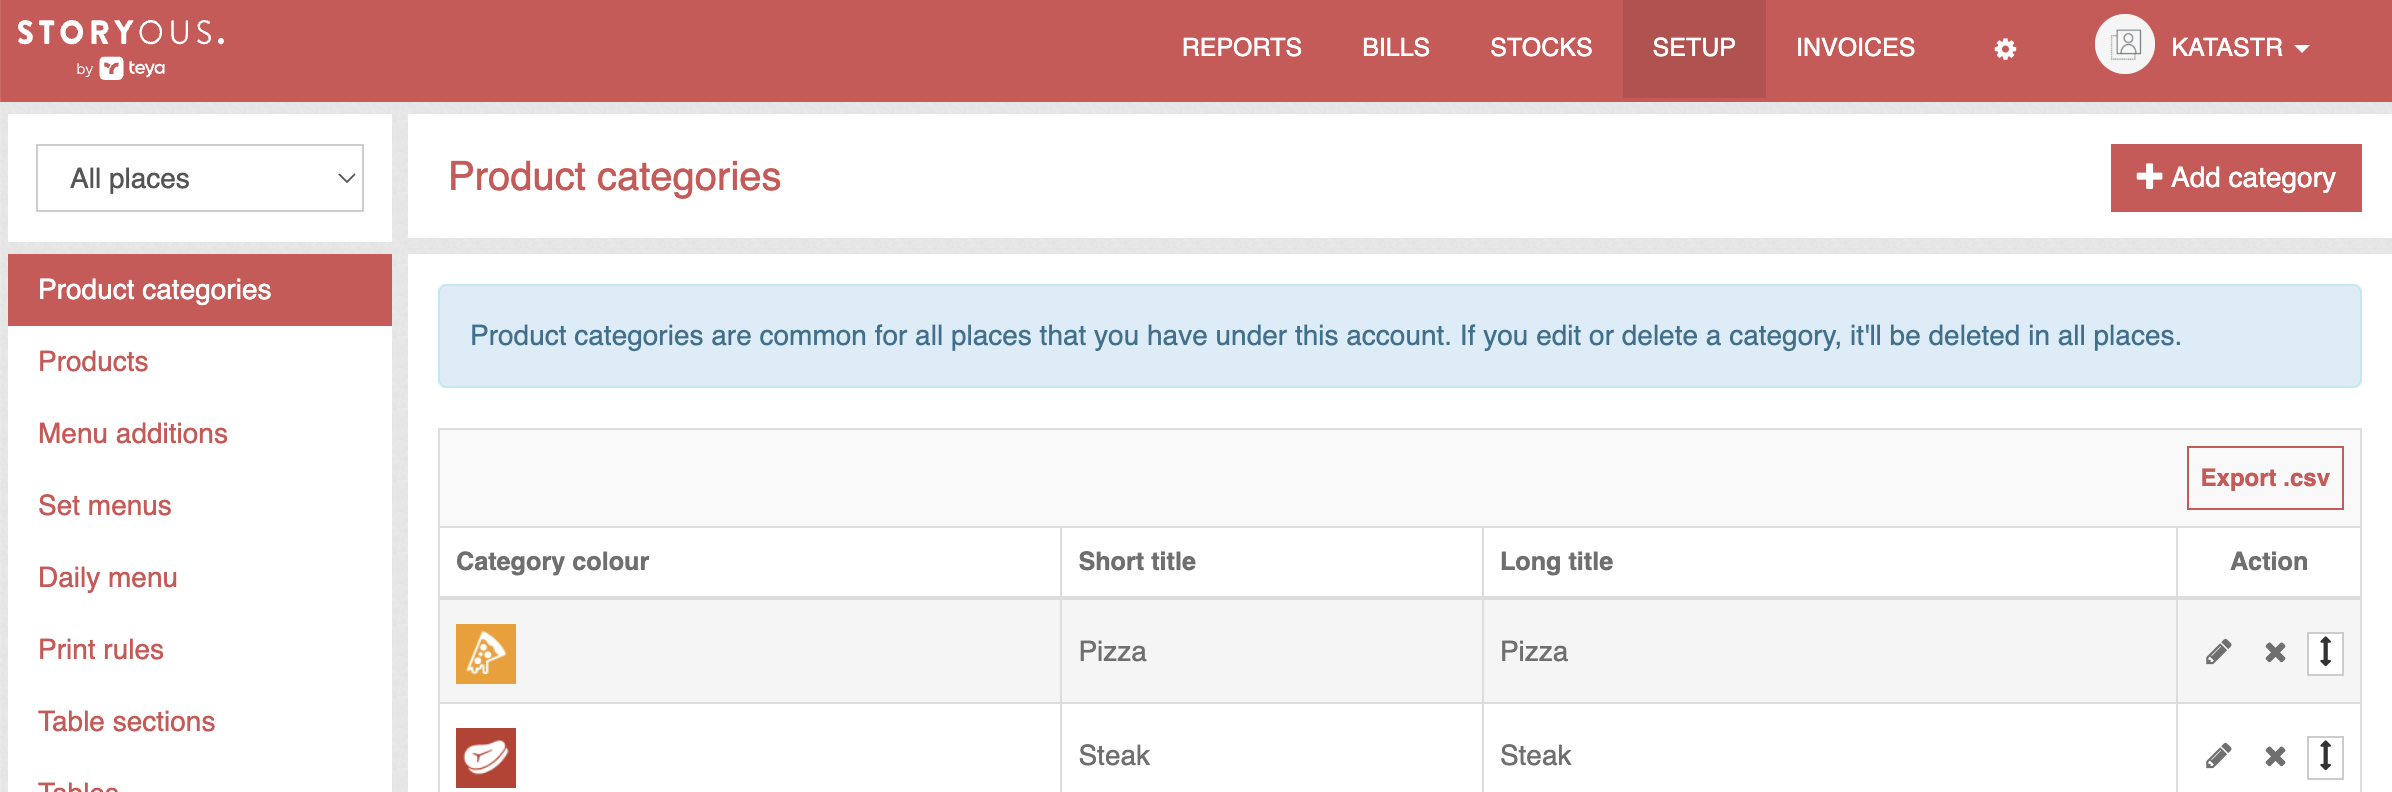
3. Setup section that can be found on the top bar of this page.
4. Select your Business place in the top left corner.
5. Click on the Product categories subsection.
6. Select +Add category in the top right corner.
Note: business place example – company XY owns a restaurant and a coffee shop. The restaurant is business place A and the coffee shop is business place B. You can manage multiple business places in the Cash Register Admin. |
7. Input the Category title, to be displayed in the Cash Register Admin.
8. Input the Short title, to be displayed in the Cash Register App.
9. Choose a Colour and Category icon, tol be displayed in the Cash Register App.
10. Click the Save button.

Note: the Cash Register Admin displays the default variable product category. This category contains variable items/products that are created for individual VAT rates to help you make the fastest possible sale without having to create specific products. However, bear in mind that these items are just presets – it's recommended that you create specific product categories and products for better insights into your business. |
Important: bear in mind that product categories are common for all business places you have under your account. If you edit or delete a product category this change will be reflected in all your business places. |
Product creation
11. Select the Product subsection.
12. Select your Business place in the top left corner.
13. Create a new product at the top of the page.
14. Input the Product name and the Price.
15. Select the VAT and Print (check the table below to see if it’s necessary).
Note: you can select more than one printer at a time. |
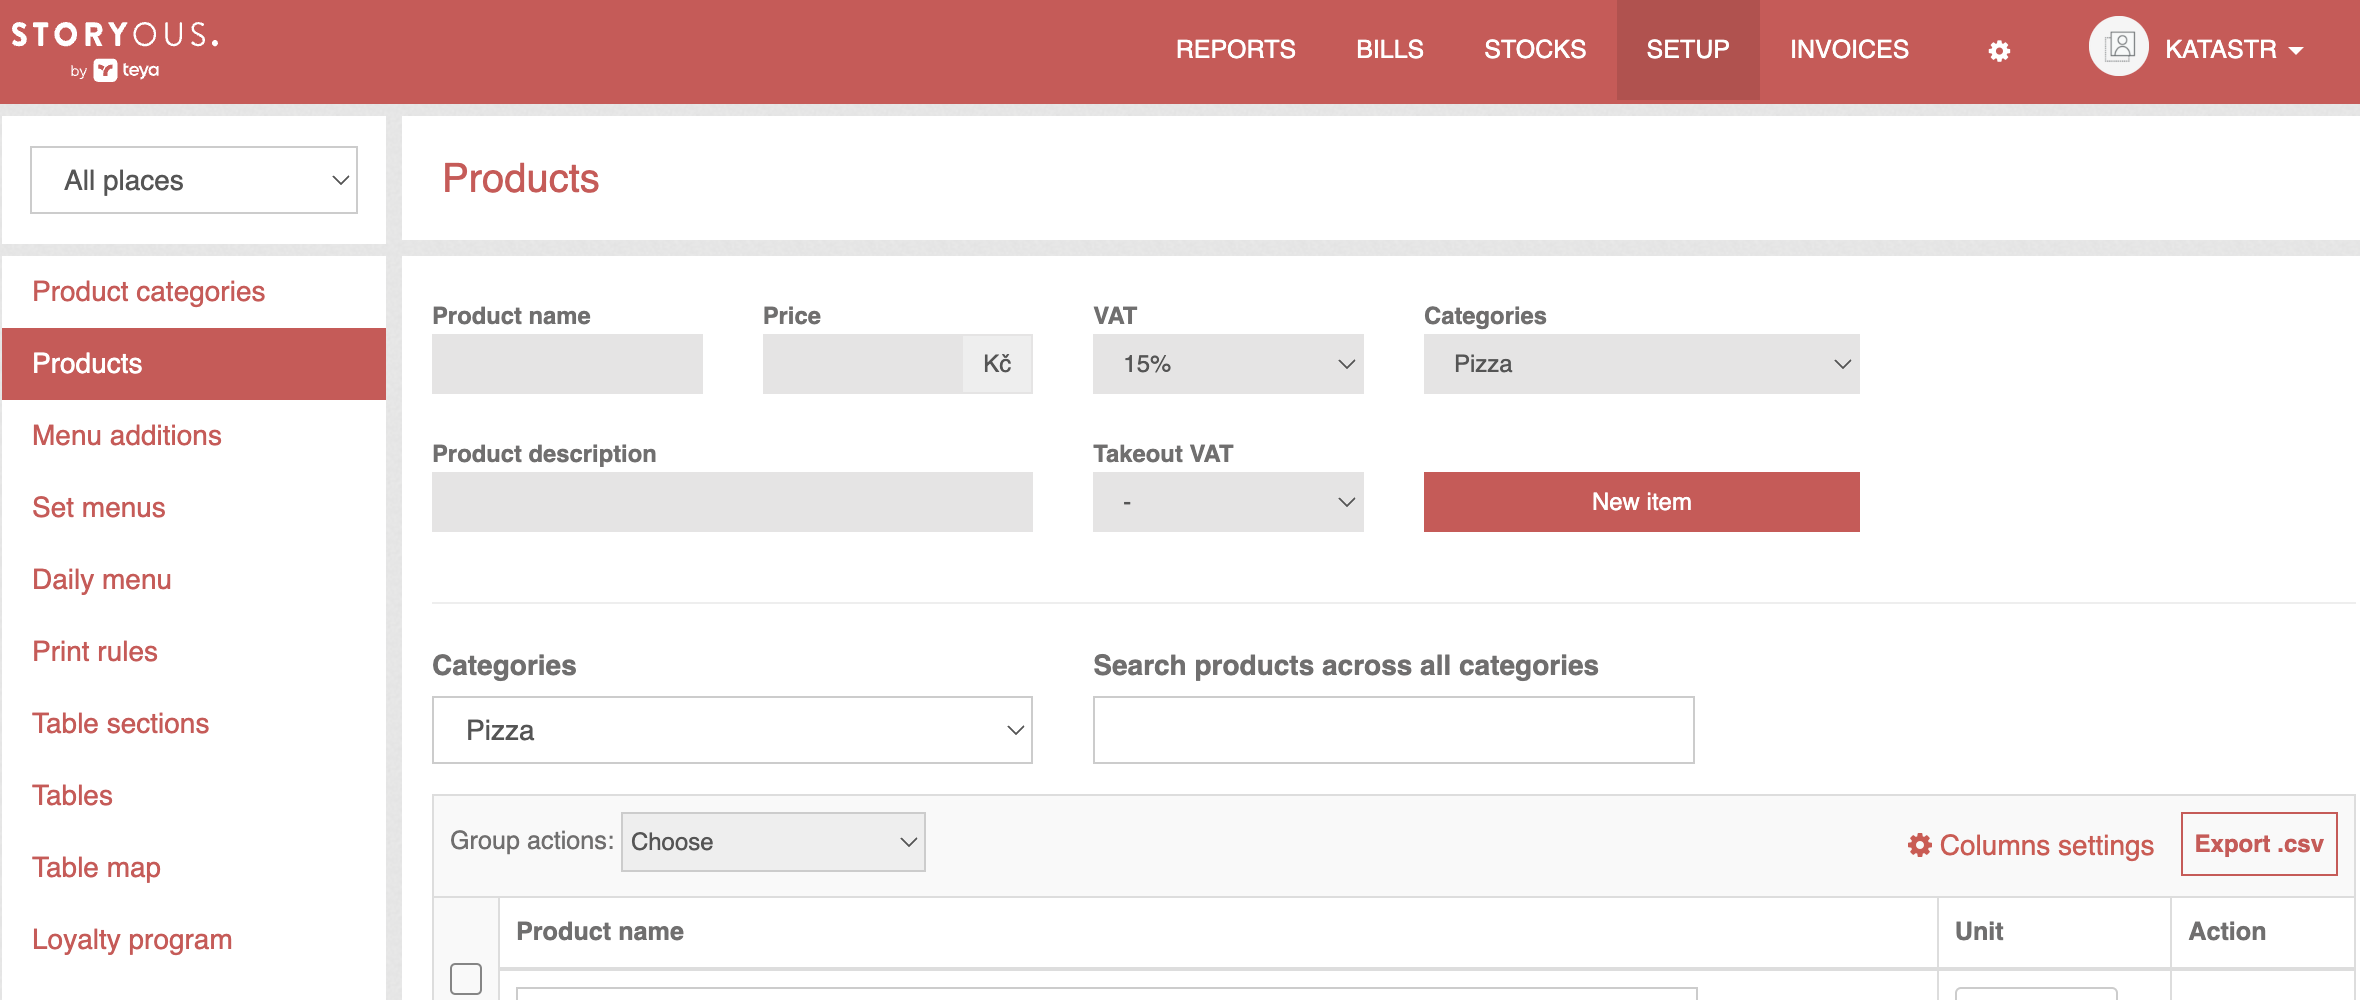
16. Choose the Product category.
17. Optionally, you can write a Product description.
18. Select the Takeout VAT if necessary.
19. Check the Show in tablet box.
20. Create the New item button to create the product.
Note: products that aren't listed in a category will be moved to the “Unclassified category” and won't display in the cash register app. |
Term | Description |
Product name | The product name is visible in the app and is visible to the customer on the receipt. |
Price | The selling price includes VAT and is visible to the customer on the receipt. |
VAT | The product tax rate set by law. Choose the VAT, if necessary. |
Select the printer if you want to print orders. | |
Categories | The product category in which you want to display the product. |
Product description | This field is optional, and it isn't visible to the customer on the receipt. |
Takeout VAT | The product takeout tax rate set by law. |
Show on tablet | If you check this box, the item will be displayed in the cash register app. If left unchecked, it'll only be displayed in the Cash Register Admin. |