
System settings in Admin
Updated
The Storyous Admin is the central place for configuring the system in your business. Within the admin, you can add the products you sell, manage user access, use stock management, and gain an overview of your sales, bills, cash flows, cancellations, and discounts. Additionally, the admin offers various insights into sales, staff, products, product categories, and more. These reports can give you a deeper understanding of your business performance.
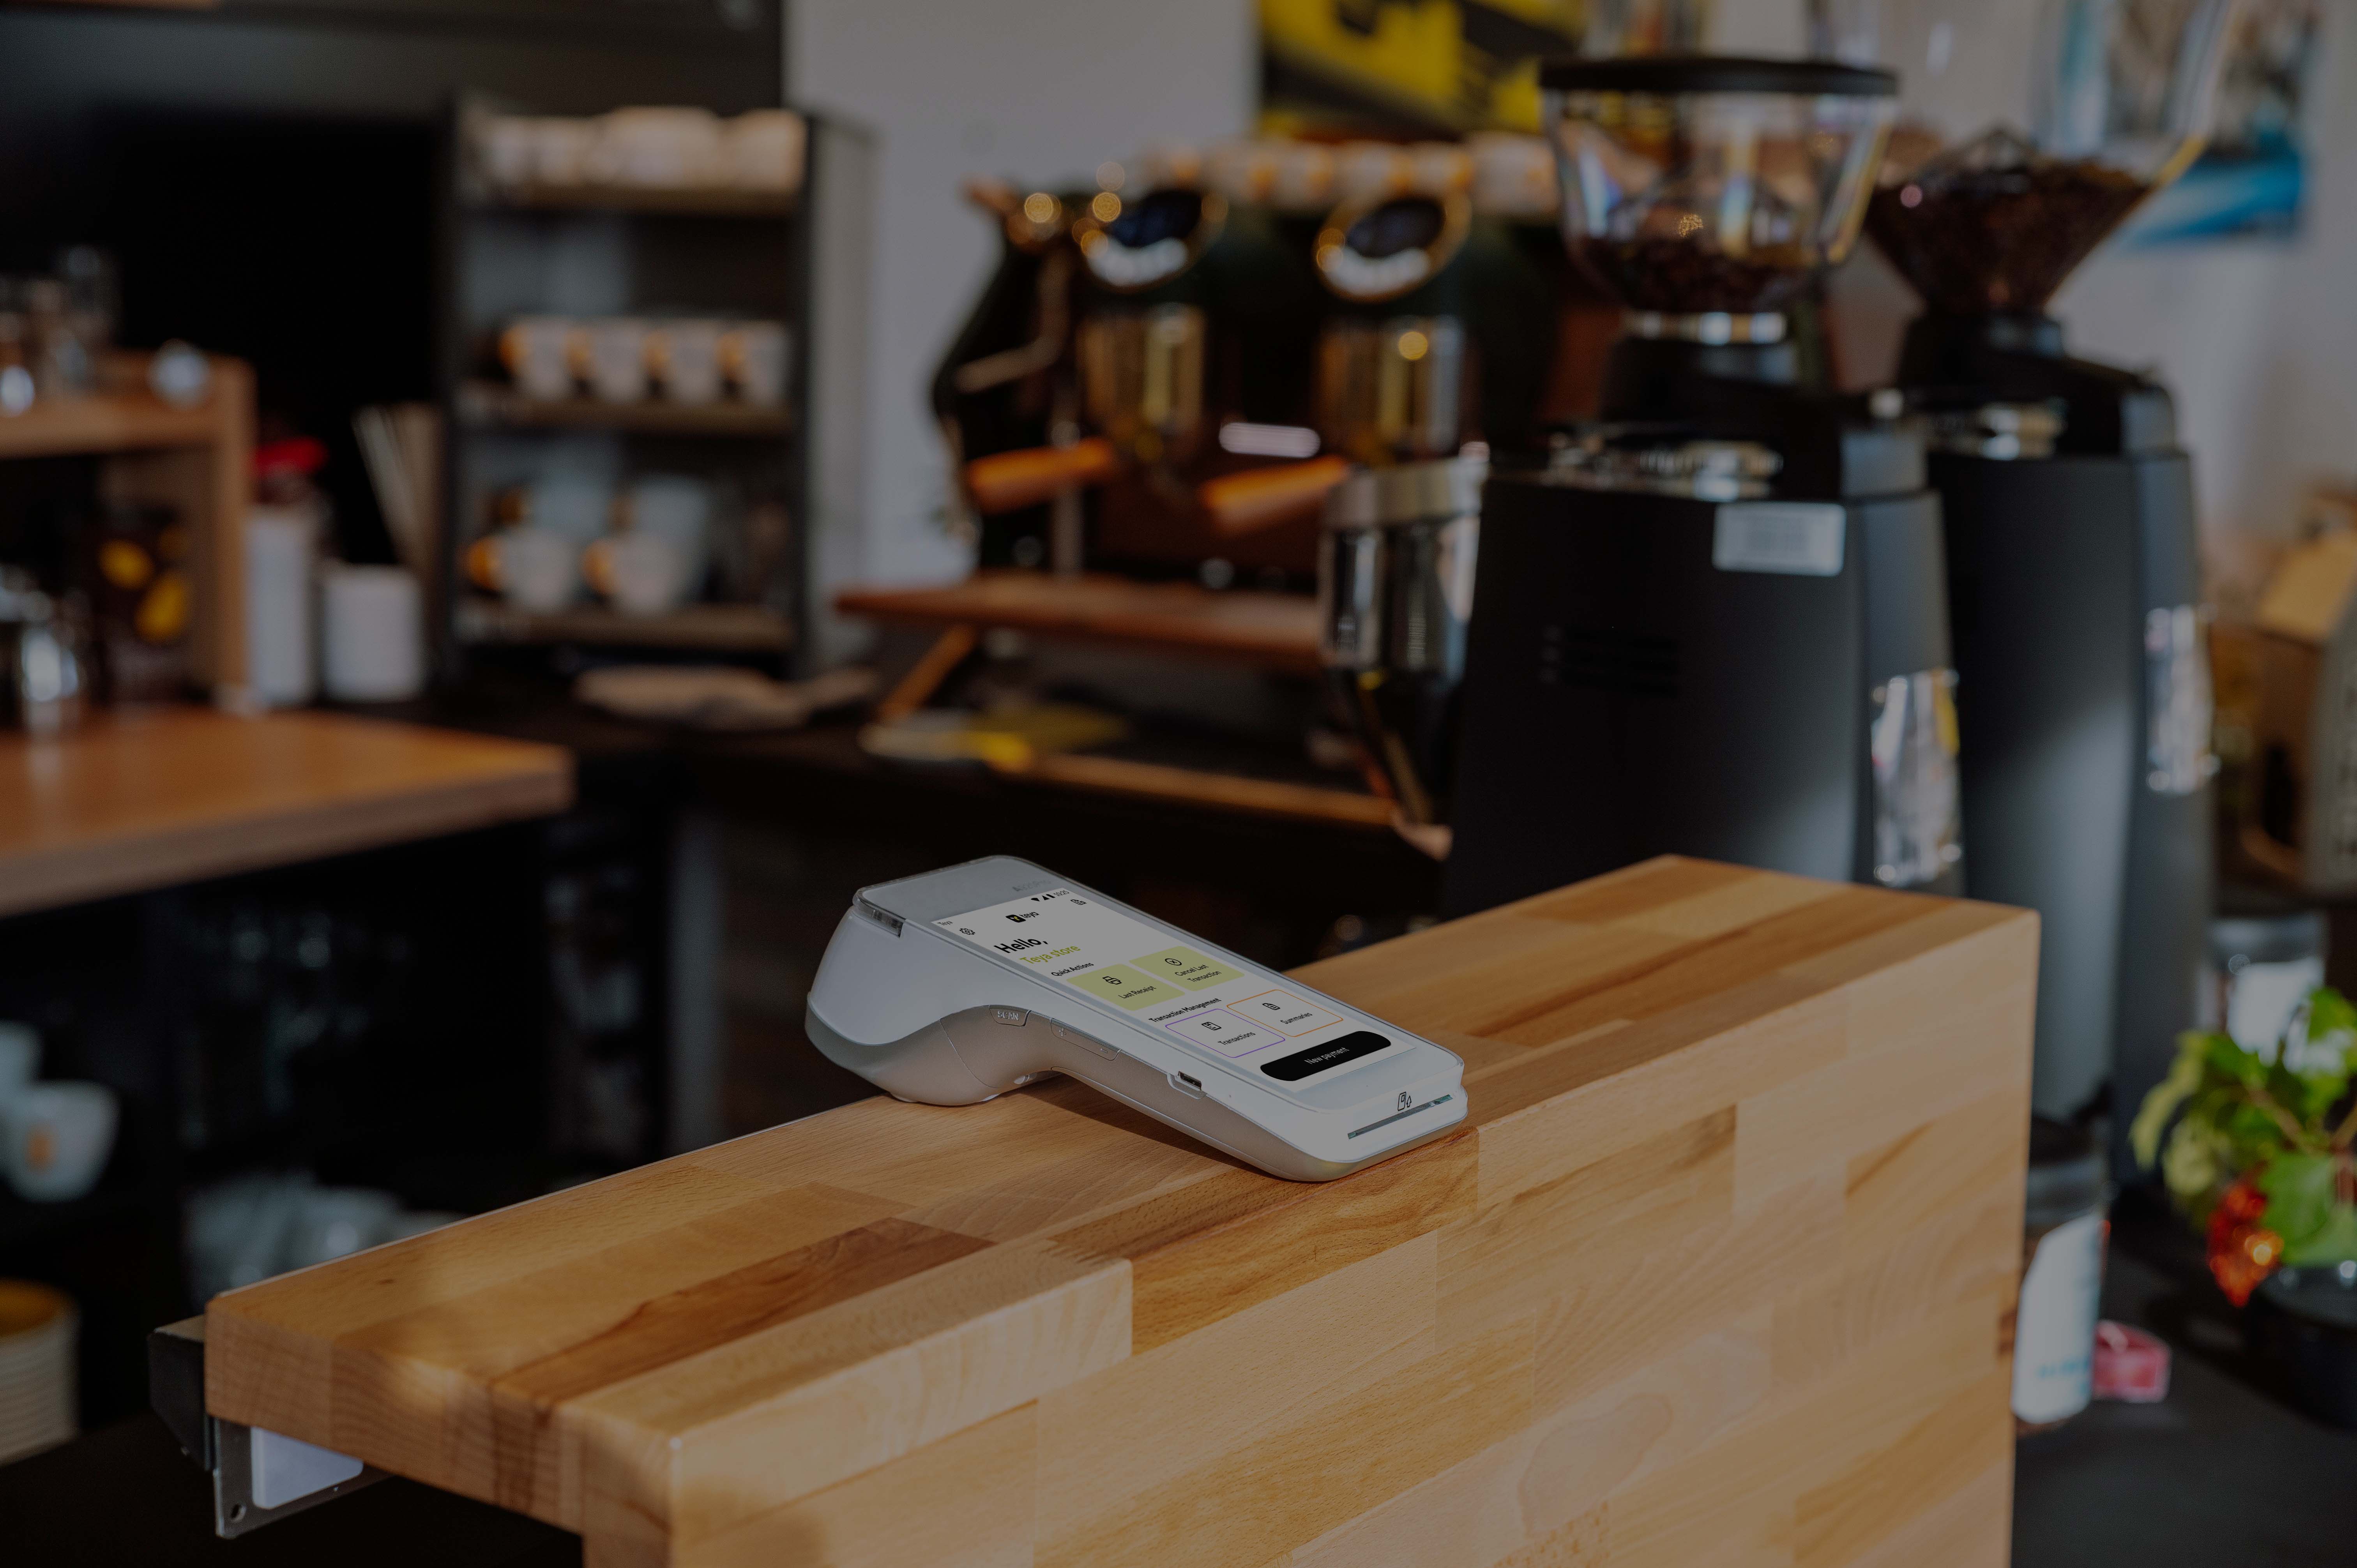
The admin is synchronised with the Storyous POS app on your device, and is designed to be used for setting up and monitoring your business, while the app is designed to be used for serving your customers.
We highly recommend using a laptop or desktop computer and the Google Chrome browser to make the most of the portal's functionality. |
Important – if you're getting started with Storyous, setting up your business in the admin is essential before you can begin to use the POS app on your device. |
Admin settings allow you to configure your receipts, add reasons for reciept refunds, customize the printing of information on closures, set available payment methods, adapt data in reports according to end-of-day settings, and many other features for the POS application.
Login to the Admin
1. To access the Storyous Admin visit admin.storyous.com.
2. Use your Teya ID credentials to log in.
Note: if you’d like to know more about Teya ID login or you forgot your login credentials, check this article. |
Note: you may also access and login to the Storyous Admin through our Storyous website. |
Bill settings
In this section you can set up and customise your receipts. You can add logo and text to your receipts and create reasons for bill refunds that will shows in the POS app while you cancel or reopen the bill.
To access Bill settings choose the Settings icon on the top bar of the page.

Important – don't forget to select a specific Location, before your start managing your settings. |
Note – for example, XY company owns a burger bar and a coffee shop. Location A is a burger bar and location B is a coffee shop. You can manage multiple locations with the Storyous POS solution. |


POS settings
The POS settings offers you to for example enable or disable alerts for unserved customers, set your VAT for quick orders, activate or deactivate tipping for card payments, customize the layout of POS application buttons, enable or disable the option on the business account, etc.
Simply read the description and activate the desired functions accordingly. To customise some of your POS app settings, go to Settings and select POS settings.

Important – don't forget to select a specific Location, before your start managing your settings. |
Note – for example, XY company owns a burger bar and a coffee shop. Location A is a burger bar and location B is a coffee shop. You can manage multiple locations with the Storyous POS solution. |


Payments in foreign currency settings
The Payments in foreign currency provide you with the option to set your own rates for accepting foreign currency in your Storyous POS app. If you set this up, you'll have the option to switch to different currency in the app. The conversion will be made using the exchange rate you have set.
To access this setting, select Pamynets in foreign currency subsection in the Settings.
Important – don't forget to select a specific Location, before your start managing your settings. |
Note – for example, XY company owns a burger bar and a coffee shop. Location A is a burger bar and location B is a coffee shop. You can manage multiple locations with the Storyous POS solution. |

Product notes settings
The Product notes provide you with the option to set notes to each of your product while ordering in your Storyous POS app. Notes serve as information for the chef or bar staff. Usually, these are specific customer wishes or product modifications. To access this setting, selec Product notes subsection.
Important – don't forget to select a specific Location, before your start managing your settings. |
Note – for example, XY company owns a burger bar and a coffee shop. Location A is a burger bar and location B is a coffee shop. You can manage multiple locations with the Storyous POS solution. |


Cash flow settings
Within this section, you can specify whether the cash flow status should reset after performing the closure. Moreover, you can define the content to be printed on your closure. After completing the closure in the POS app, you can determine additional information to be included on the closure printout.
To set the information displayed on your closure, select Settings, then Cash flow.
Important – don't forget to select a specific Location, before your start managing your settings. |
Note – for example, XY company owns a burger bar and a coffee shop. Location A is a burger bar and location B is a coffee shop. You can manage multiple locations with the Storyous POS solution. |

Payment methods settings
This section provide you with the option to create or manage the payment methods accepted in you business.
To access this settings select Settings, then Payment methods.

Important – don't forget to select a specific Location, before your start managing your settings. |
Note – for example, XY company owns a burger bar and a coffee shop. Location A is a burger bar and location B is a coffee shop. You can manage multiple locations with the Storyous POS solution. |

Other settings
The Other settings provide you with the option to configure the end-of-day time for all your reports within the POS portal. To access this setting, selec Other. Within this section, you can specify the time, after midnight, when your business closes.
Note – this setting doesn't affect the income summary in the Bills section. The sales overview will continue to display data by 24 hours. |
Important – don't forget to select a specific Location, before your start managing your settings. |
Note – for example, XY company owns a burger bar and a coffee shop. Location A is a burger bar and location B is a coffee shop. You can manage multiple locations with the Storyous POS solution. |
