
Getting started with PAX A80 card terminal
Updated
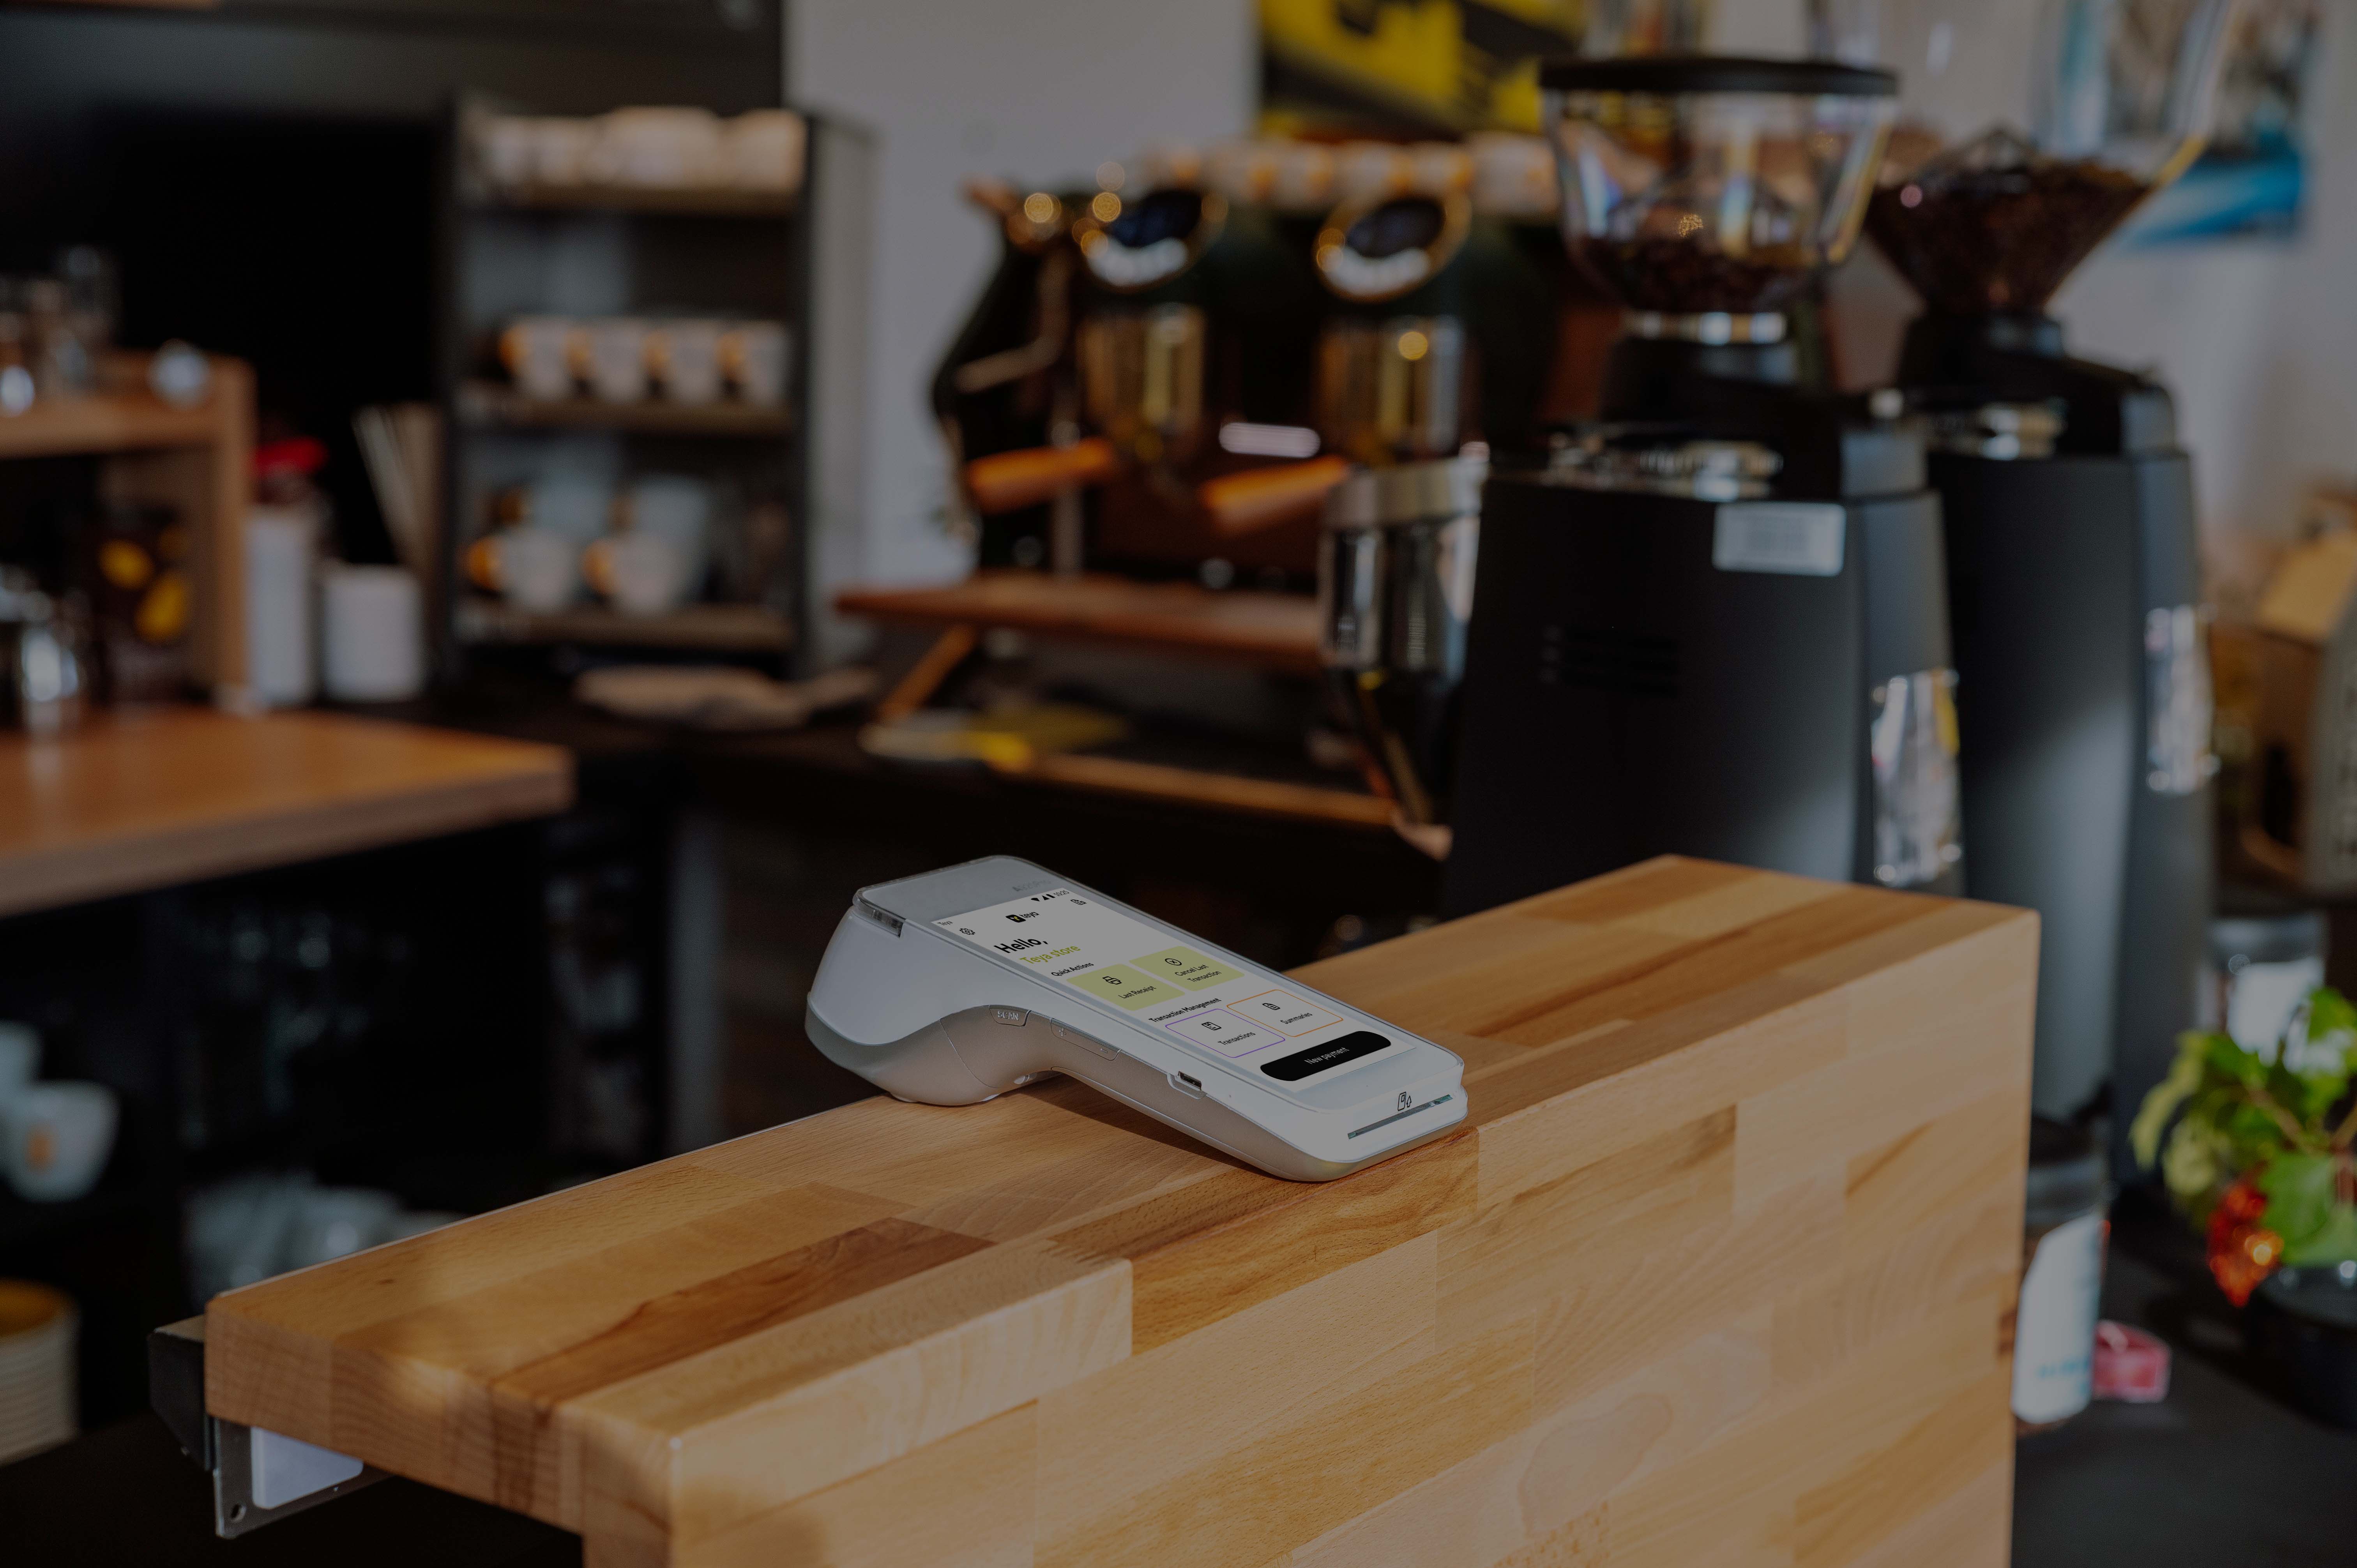
Your PAX A80 card machine will arrive programmed with your business information. All you have to do is turn it on and connect to the internet, and you'll be ready to accept card payments.
Important - to process payments, the card terminal must have an internet connection at all times. The A80 device requires access to your internet router via ethernet cable for Android 6, 7, and 10, or access to WiFi for Android 10. |

Check that the box your card machine was delivered in contains:
A card machine (POS terminal).
Ethernet cable.
Power supply and cable.
Paper roll.
Your card machine works exactly like any Android mobile phone. Read the instructions below and follow the easy steps to start taking payments.
Inserting the paper roll on A80
The card machine arrives with the paper roll already included. Make sure it's correctly inserted and ready to print. The paper roll end should be outside the compartment when the cover is closed.
The terminal can print:
Automatic receipts.*
Receipts for the customer.
Summaries.
Read about printing in detail in this article.
*You can quickly set automatic printing by selecting Menu > Manage features > Automatic receipt printing.
Setting up the A80 terminal for the first time
You'll have to connect the provided power and ethernet cables as shown in the below diagram:
1. Connect the terminal to power via power supply and cable.
2. Connect the terminal to internet via ethernet cable and your internet router.

Note - the A80 must be connected to power at all times as it doesn't have a standalone battery. A80 running on Android 6 and 7 must connect to the internet via ethernet cable and a router, while the A80 running on Android 10 can connect either via ethernet cable or via WiFi. |
Turning the A80 card machine on
The red button (X) is used for powering the device on and off, and can be found on the right-hand side of the keypad.
Turning the card machine on:
1. Press and hold the red X button for a few seconds to turn on.
2. You'll hear a beep sound, and the device will load.
3. If the terminal starts downloading software, wait a few minutes until this completes.
Once you turn your card machine on, you'll reach the main screen of the card machine with icons for several apps. The app you'll use for accepting card payments is called Payments and uses a Teya logo.
4. Press the app icon on the screen to launch the app.
5. If you're opening the app for the first time, you'll be greeted by a welcome message and guided throughout the next steps as described here.
Turning the card machine off:
1. Press and hold the red X button for a few seconds.
2. A pop-up window will appear on the screen.
3. Press Turn off on the screen if you'd like to turn the device off, or Reboot if you'd like to restart the device.
Connecting A80 card machine to the internet
For the card machine to process payments, it must have internet connection. There are two ways of connecting your A80 device to the internet:
Ethernet connection to a router (A80 running on Android 6, 7, or 10).
WiFi connection (A80 running on Android 10).
Note - we highly recommend connecting the terminal to your Ethernet network. It ensures a more stable connection, allowing you to continue processing payments even in busy hours. |
Connecting A80 via ethernet cable
Your card machine comes with an ethernet cable which has to be plugged into the rear of the A80 payment terminal, as well as plugged into a port in your local router.
1. Insert either end of the ethernet cable into the rear of the A80 payment terminal (LAN port).

2. Insert the opposite end of the ethernet cable into the internet router.
3. The router will automatically assign an IP address, and the payment terminal will connect to the internet.
Connecting A80 via WiFi
Note - the WiFi connection is supported on A80 devices running on Android 10. |
1. Slide downwards from the top of the screen.
2. Press on the WiFi icon.
3. Choose your WiFi network.
4. Insert password, if needed.
4. Press Connect.
5. The screen will display Connected next to your chosen network.
Important - due to potential security issues, avoid connecting the terminal to public WiFi networks. There's a high risk of payments being declined or delayed on a public network. |
Accepting payments on your card machine
Once your device is connected to the internet, you're ready to accept your first payment:
1. Find the icon for Teya Payments on the main screen of your device.
2. To launch the app, press once on the Payments icon.
3. This will open the main window for entering the payment amount.
4. Enter the amount you'd like to charge.
5. Press the Next button on the screen, or the green button on the keypad.
6. Tap, insert, or swipe the card, or send a payment link.

7. The screen will display Approved for a successful transaction.
8. If any further action is needed, the app screen will display a message to guide you.
Receiving payments in your bank account
When you sign up with Teya, your business information and bank account are registered in our database and assigned to your card machine. The payments you take on the terminal are automatically processed overnight and deposited into your bank account the following business day. This means you'll receive your money every day of the week, except on bank holidays and weekends, following Teya's usual settlement cycle.
Minimum payment amount (MPA)
Note - there is a required threshold you must reach for the payment to be deposited in your bank account. This is called minimum settlement amount or minimum payment amount (MPA) and it's equivalent to 15 eur in your currency. If your business transacts less than this in one day, you won't receive the payment the following business day. Instead, the amount will be accumulated. As soon as you cross this threshold, your business will be settled in the next payment. |